Add and manage documents
Last updated 20 days ago
Learn how to create folders, add documents as files, manage and update them, and set folder visibility.
Create a folder
Folders help you organize related files, such as documents of the same type. You can use the suggested document types, such as CDL or Registration, or create your own folder.
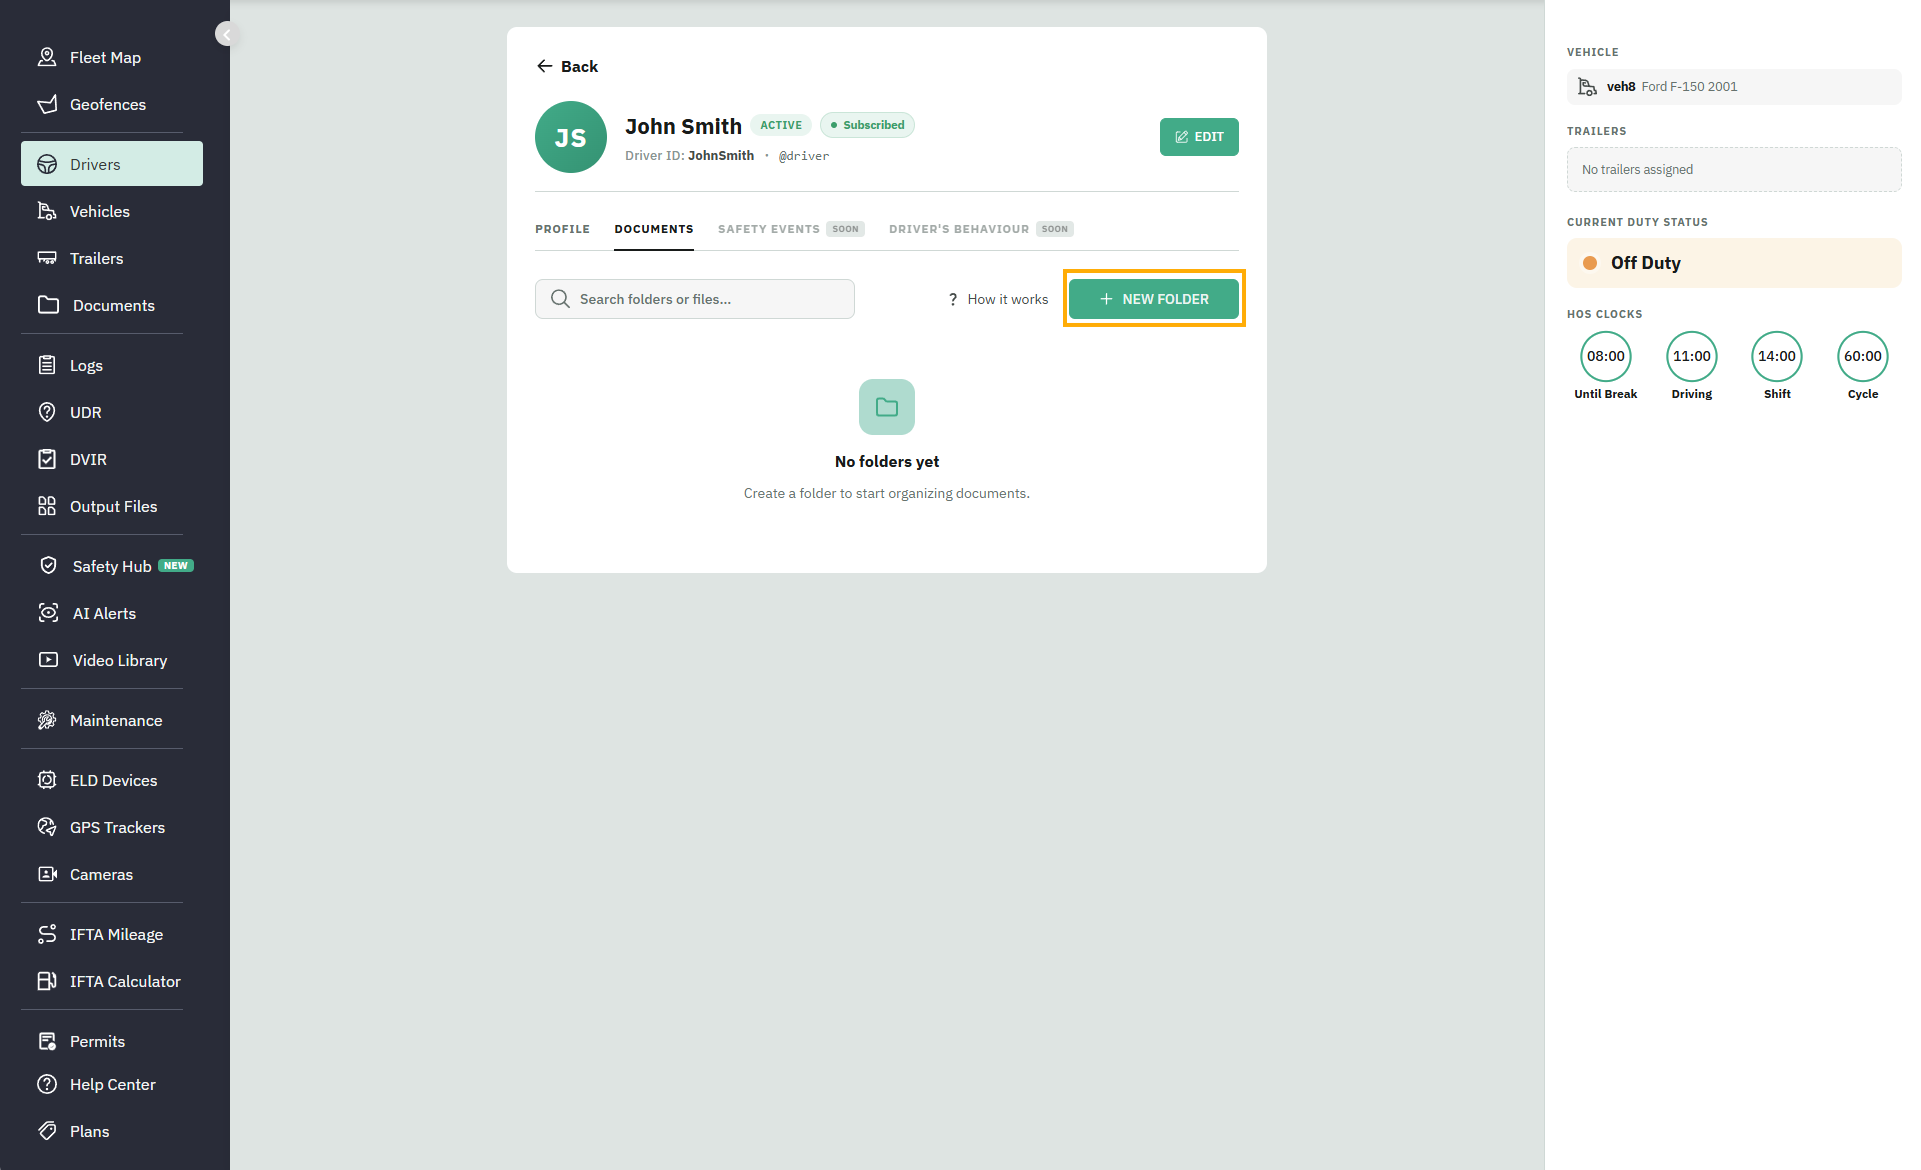
Click New folder.
Choose a suggested folder name like CDL or Registration, or enter your own.
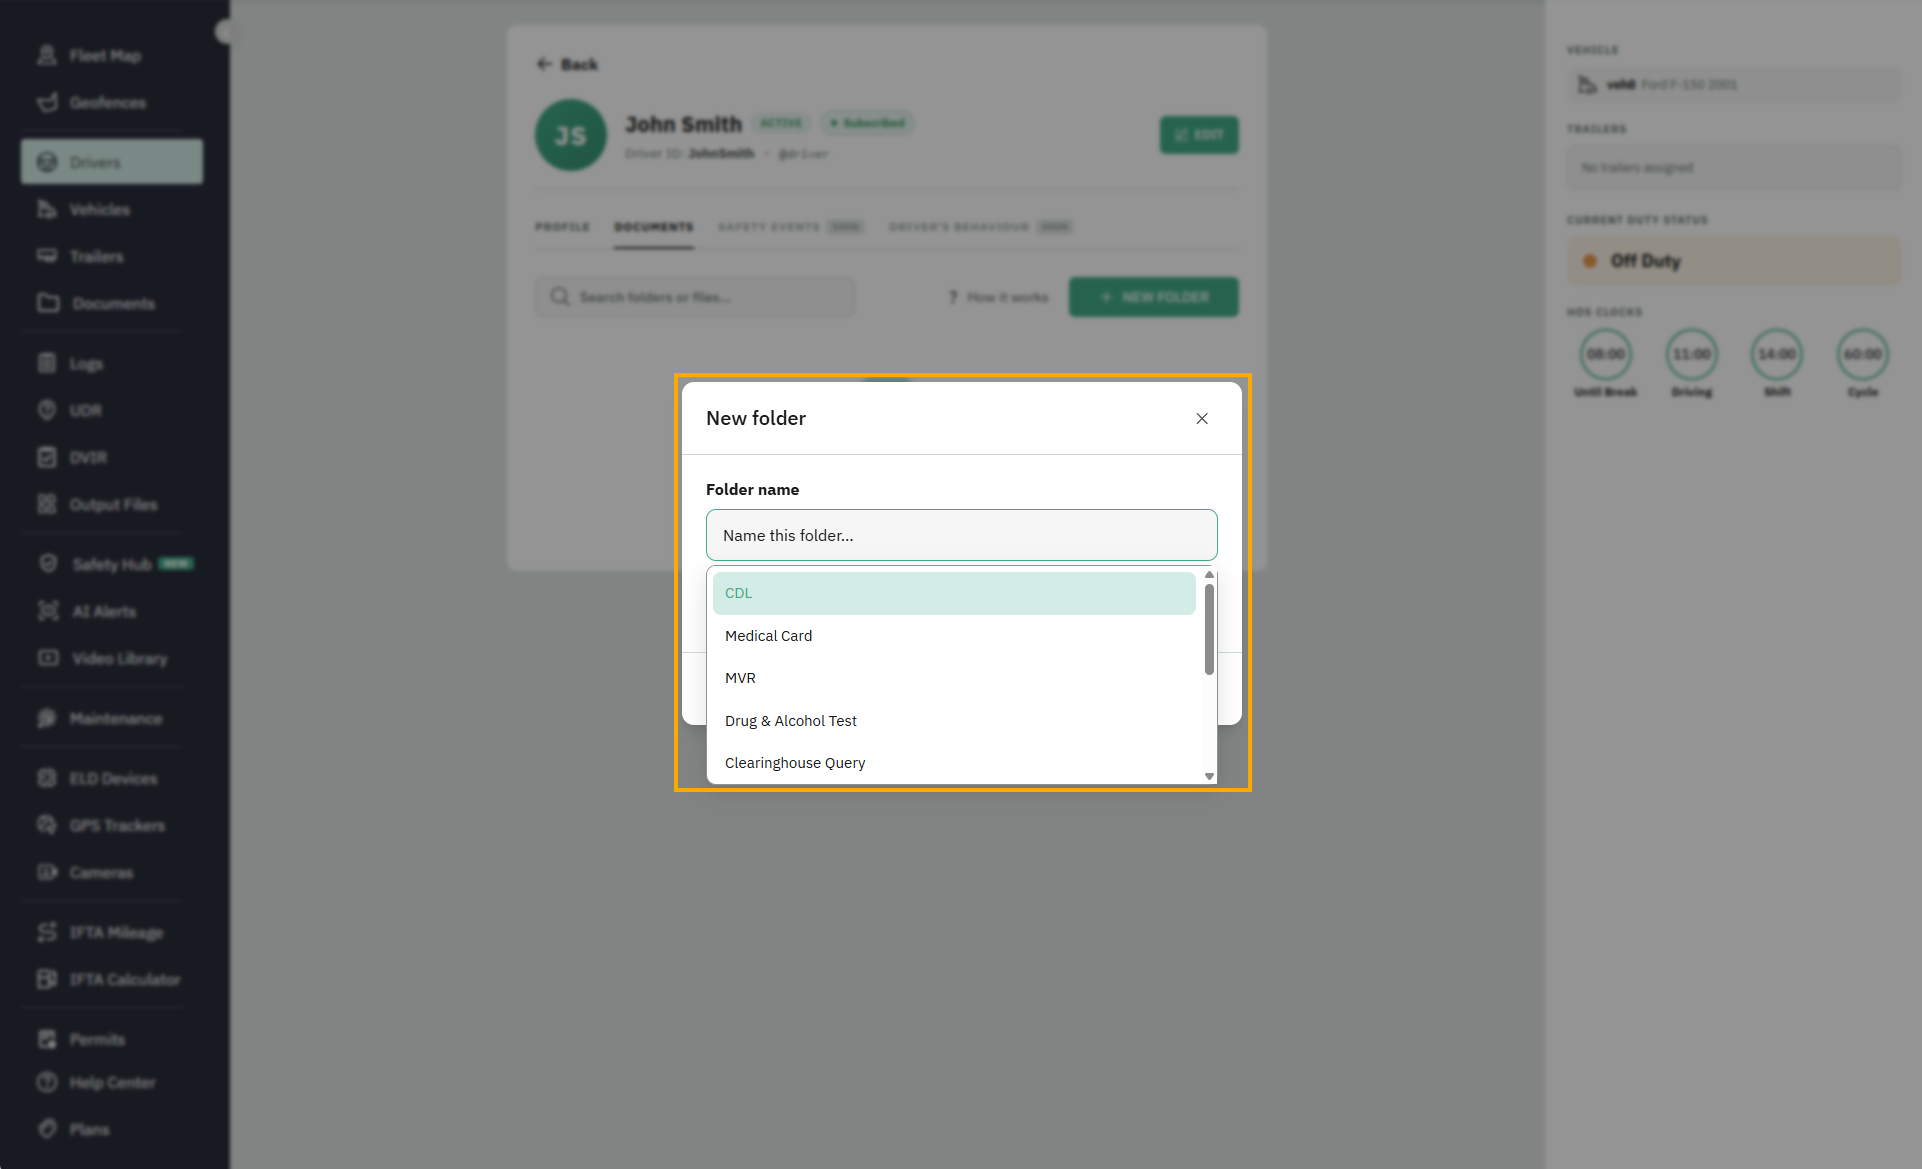
Click Create folder. The folder can stay empty until you're ready to add files to it.

Folder names must be unique within each driver, vehicle, trailer, or company.
Add documents to a folder
Documents are added to folders as files. You can add one or more files to a folder and organize them in the way that works best for you.
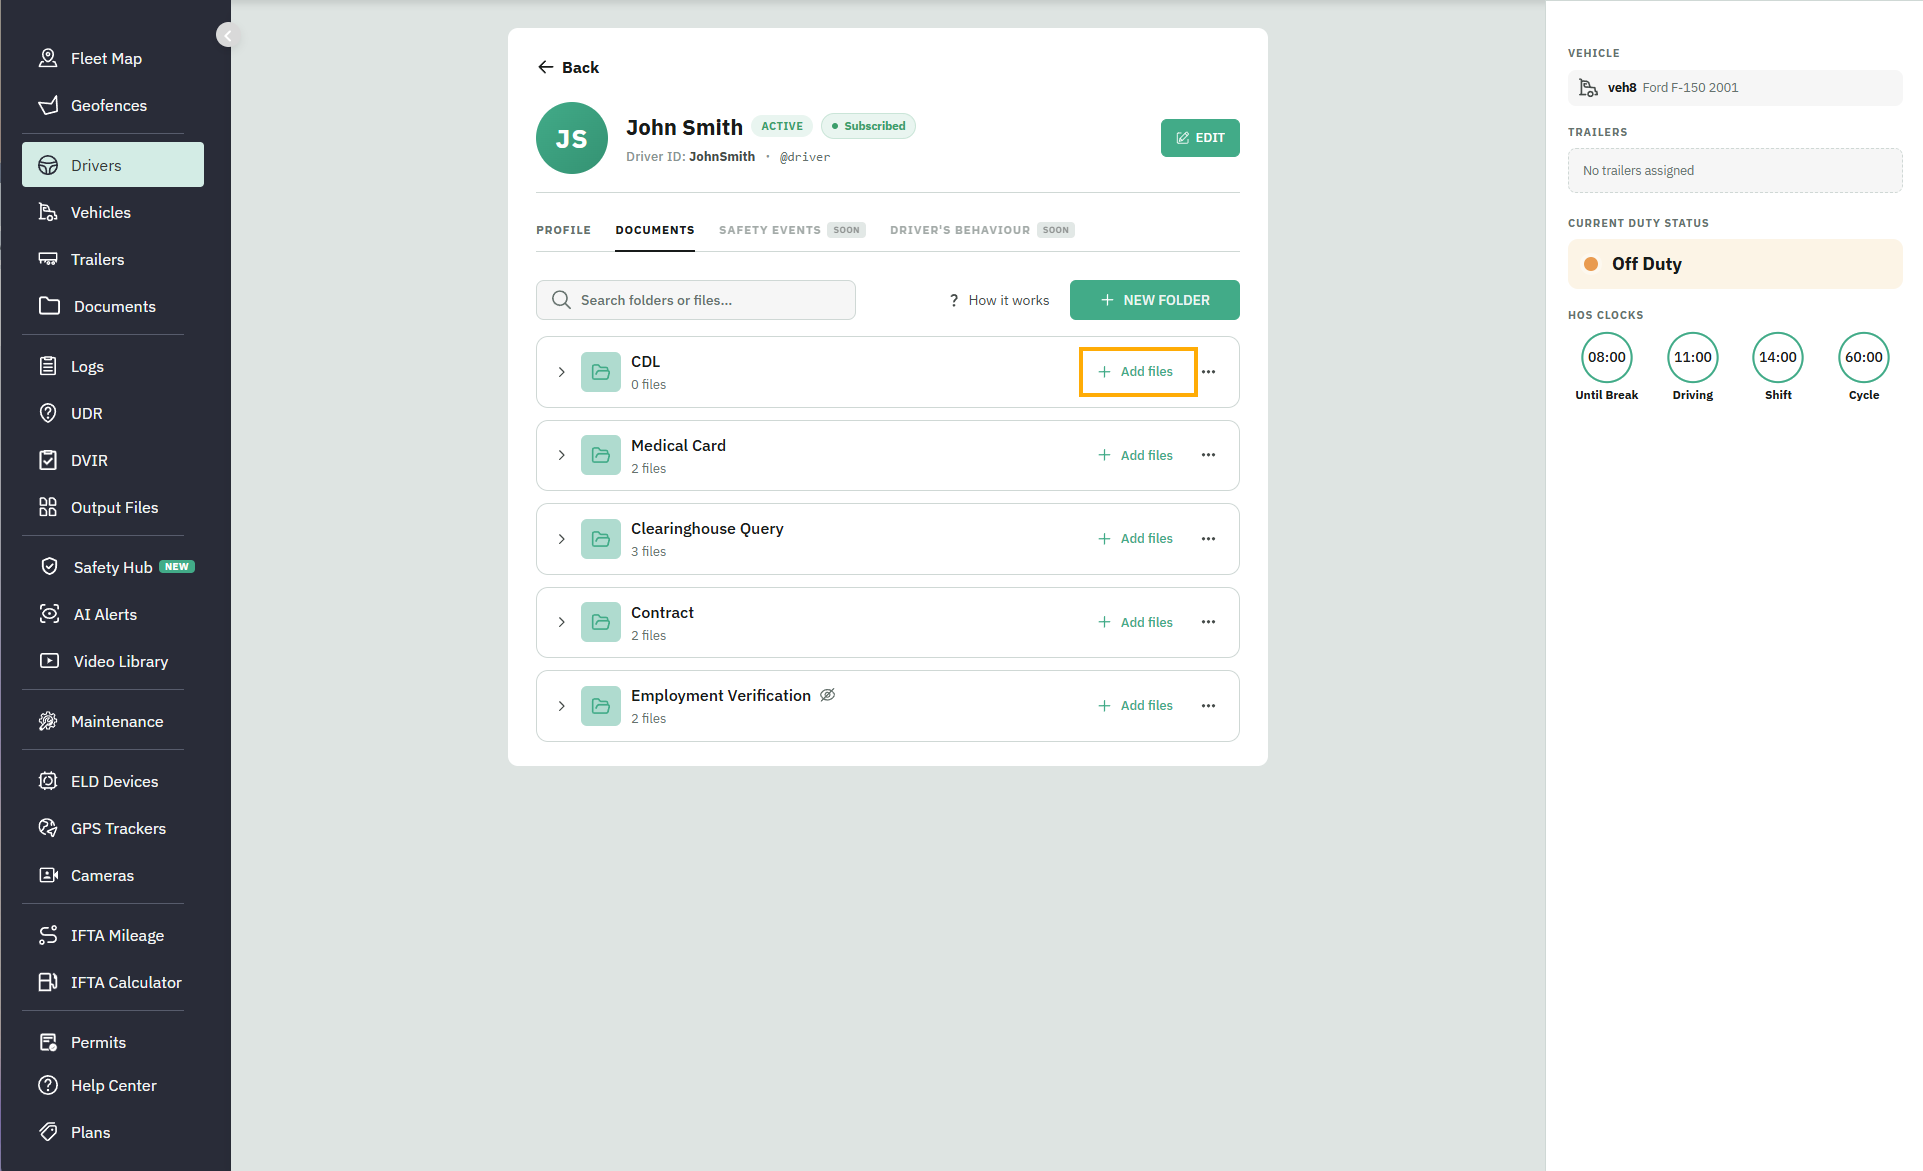
On a folder, click Add files.
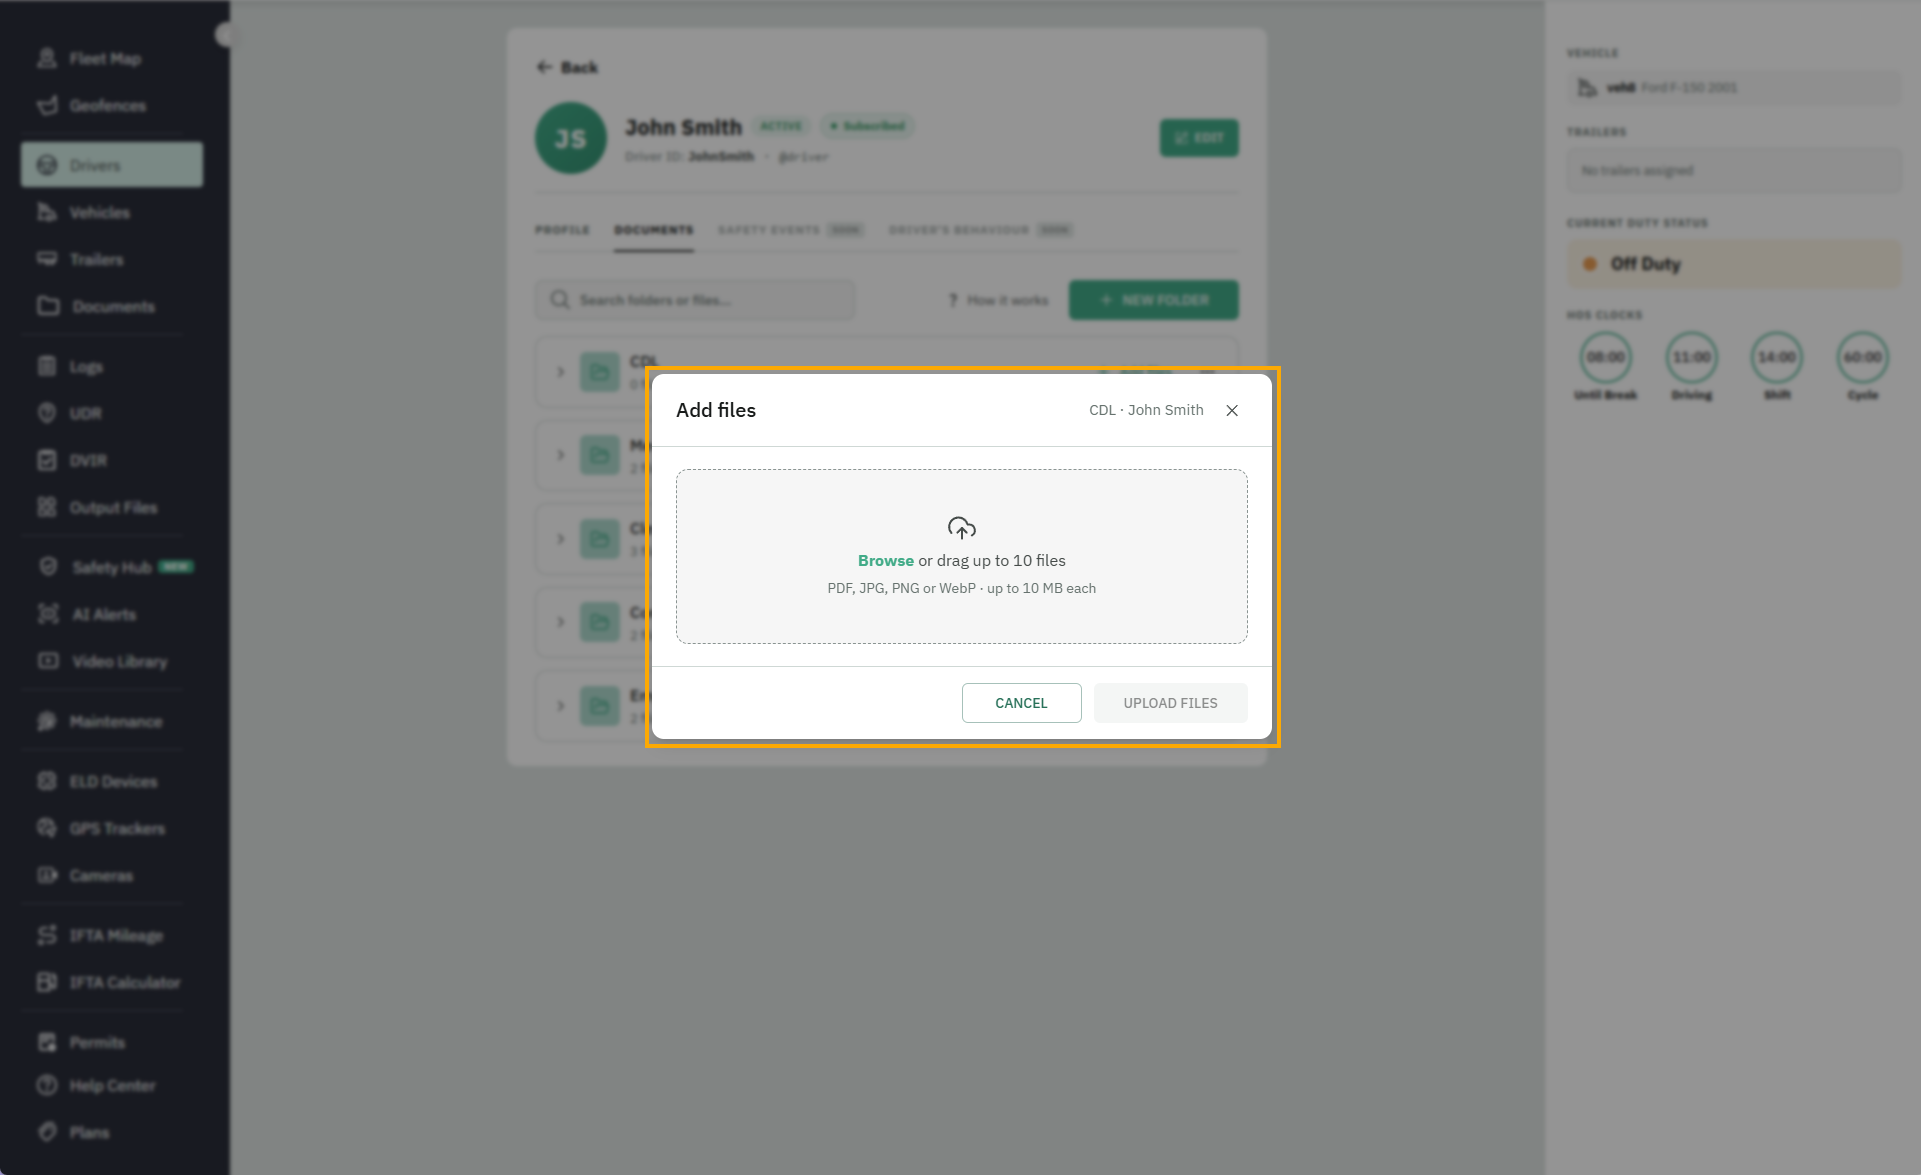
Choose your files and then click Upload.
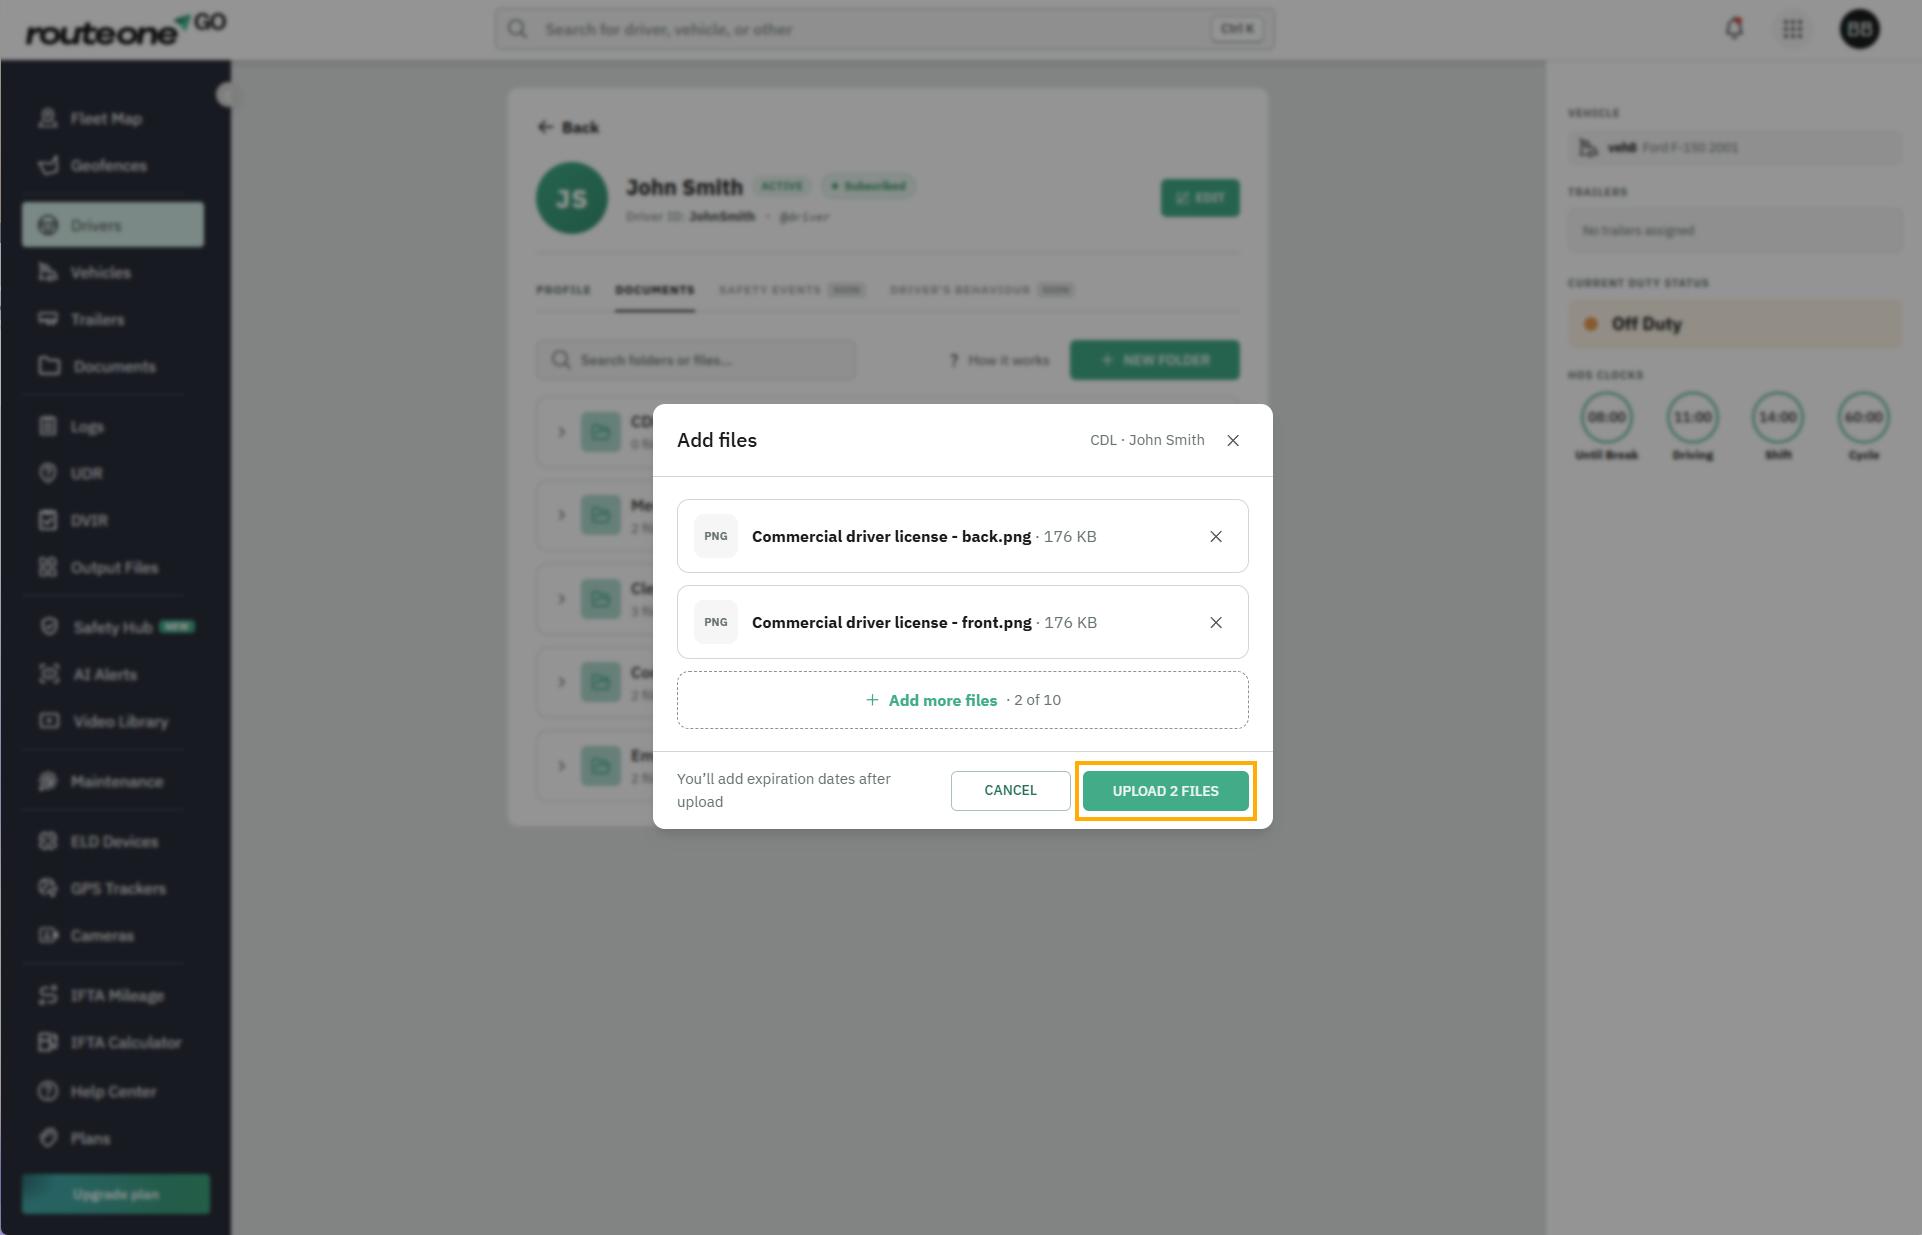
Each file uploads separately. If a file isn't supported or is too large, it's skipped while the other files continue uploading. If a file fails to upload, you can retry it without uploading the others again.
Once your files are uploaded, you can set an expiration date for each one, if applicable.
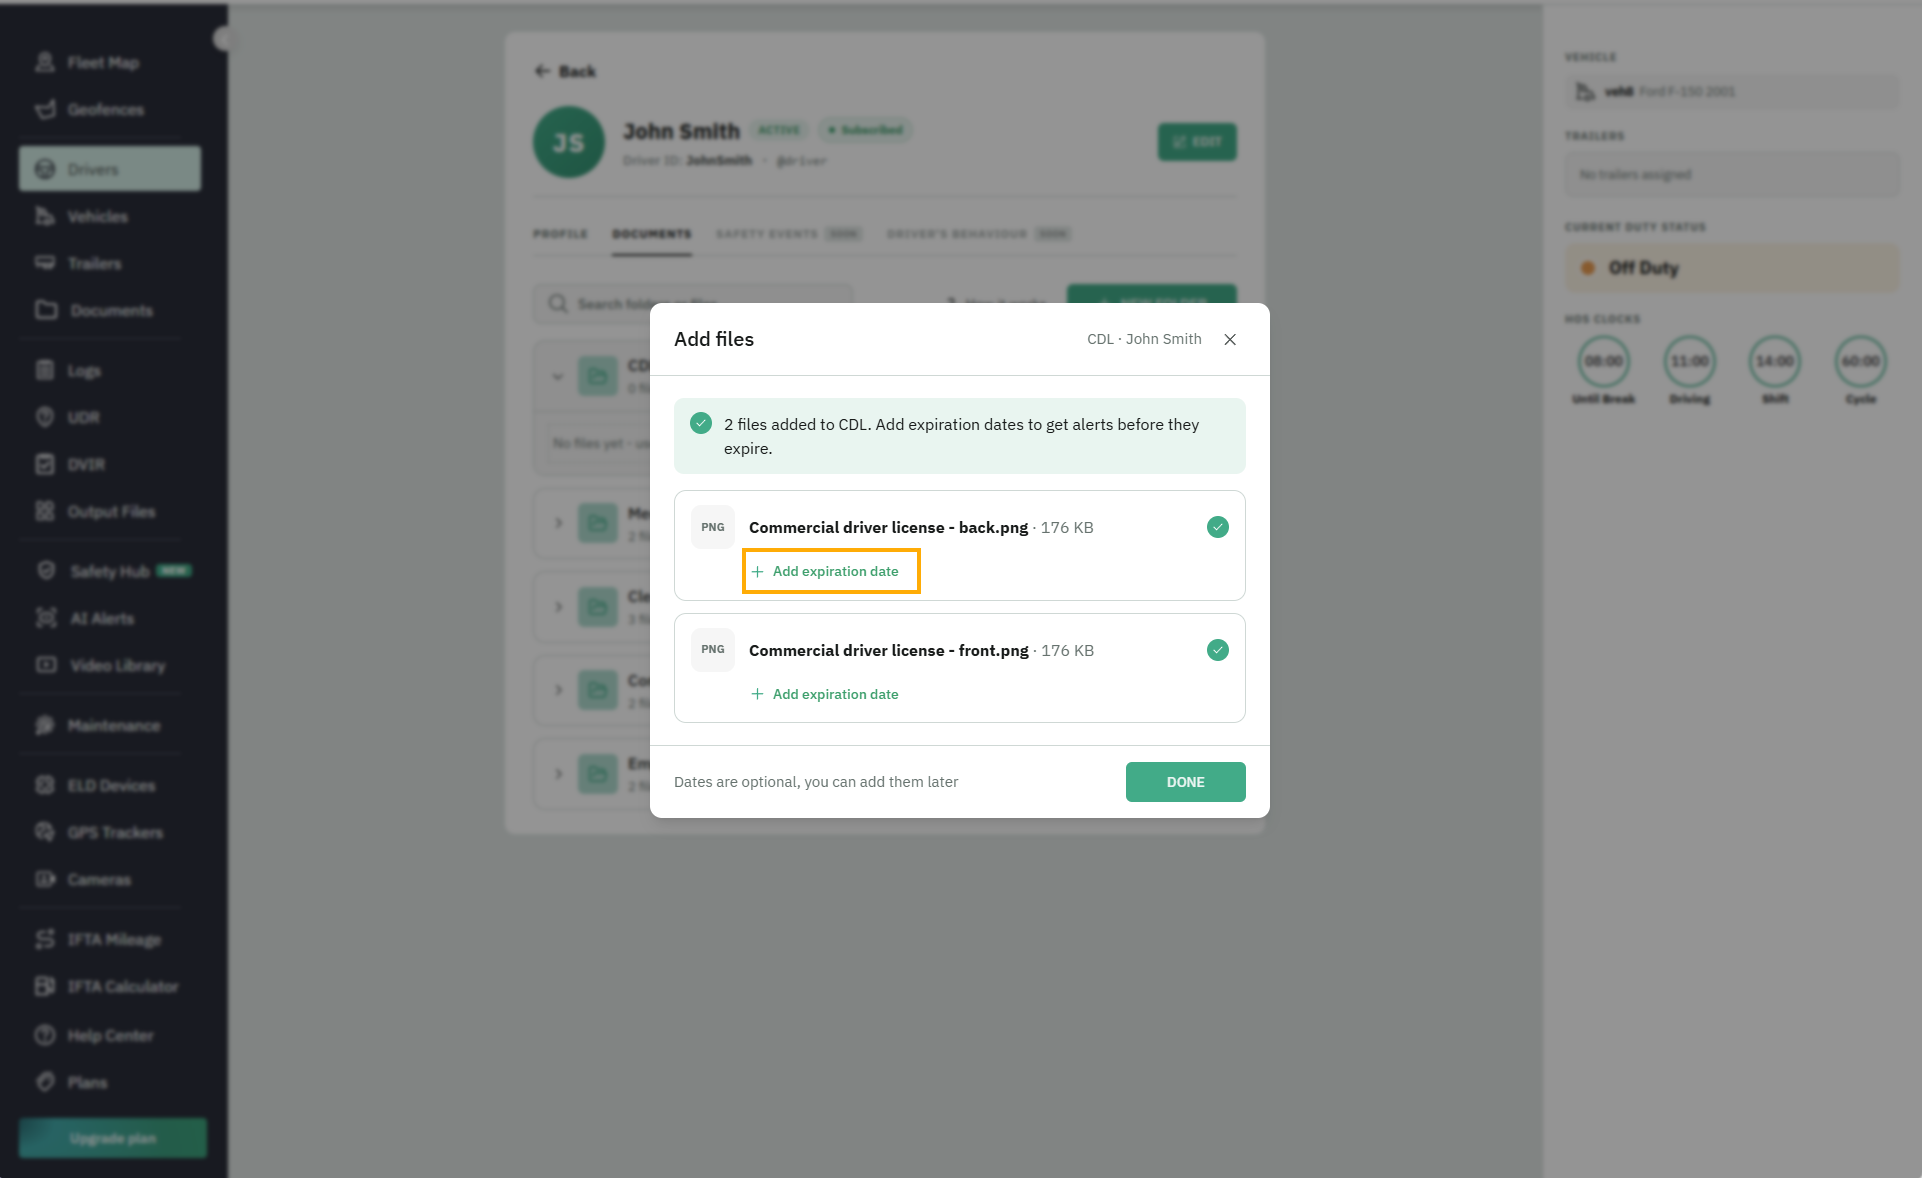
You can upload up to 10 files at once. Supported file types are PDF, JPG, PNG, and WebP, up to 10 MB each.
View and download documents
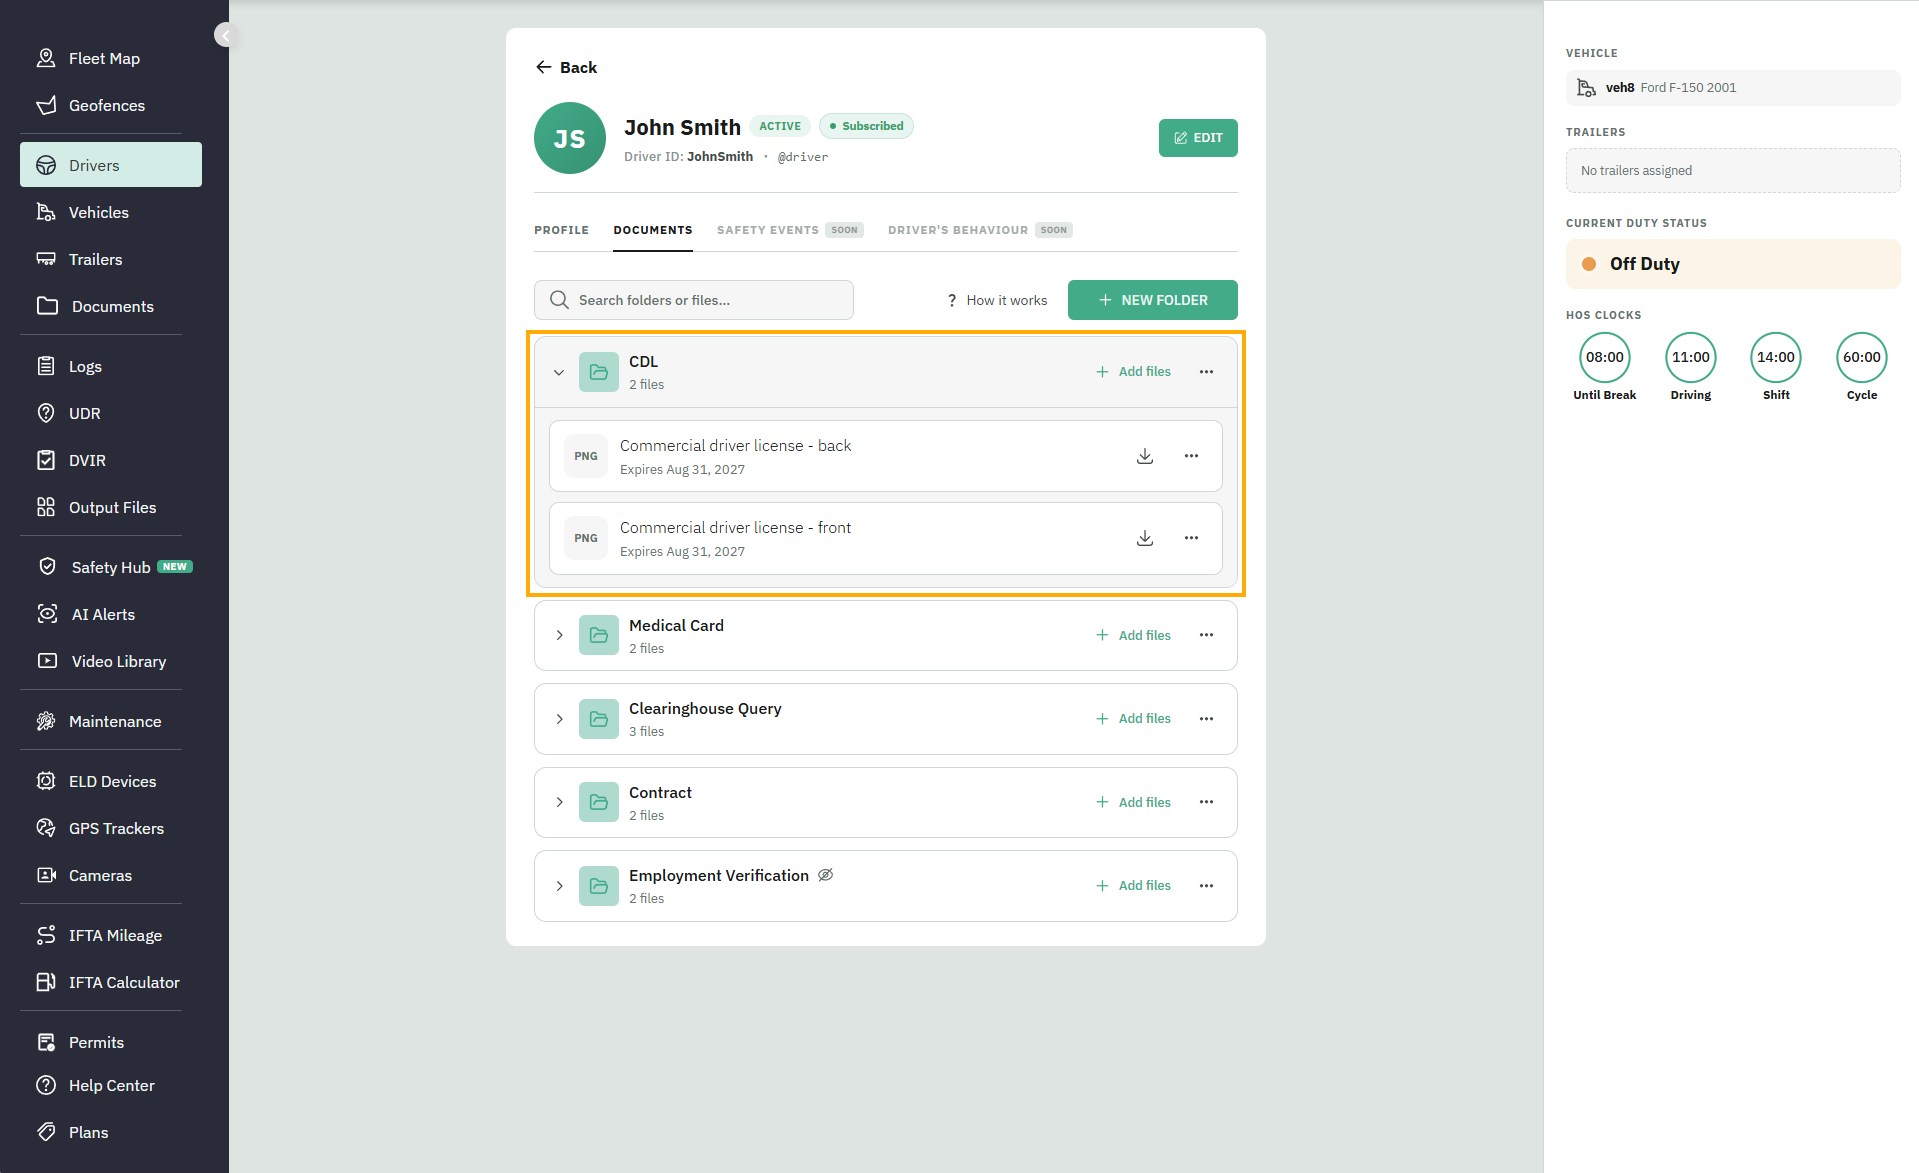
To view the documents in a folder, click the folder row to expand it and see its files.
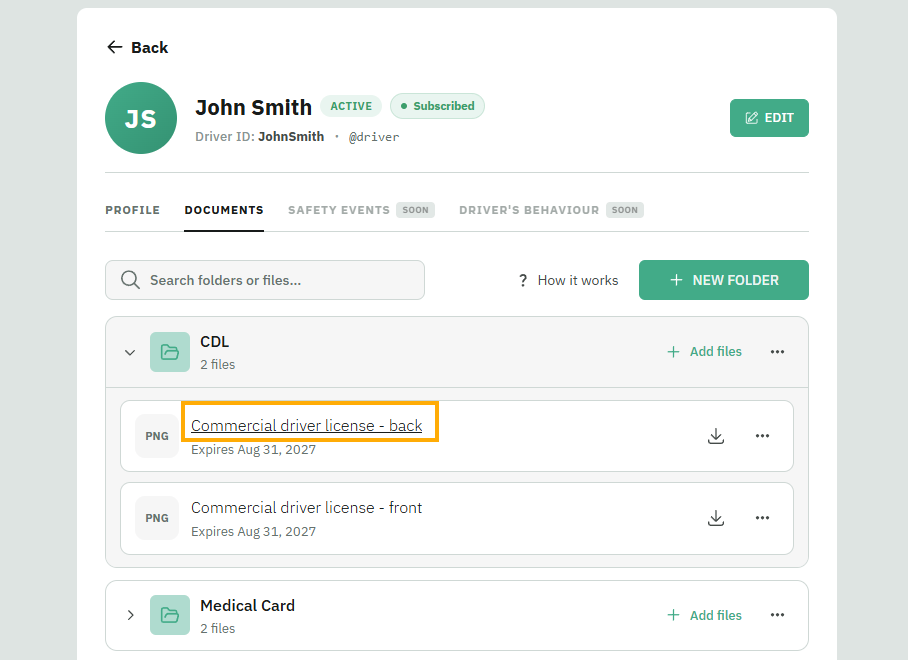
To view a document, click its file name. Images and PDFs open directly in the viewer, where you can zoom in or perform other available actions.
To download a document, click the Download icon next to the file. Documents are downloaded one at a time.
Edit document details
To update a document’s information, open the Actions menu by clicking the three-dot icon in the file row, then select Edit Details.
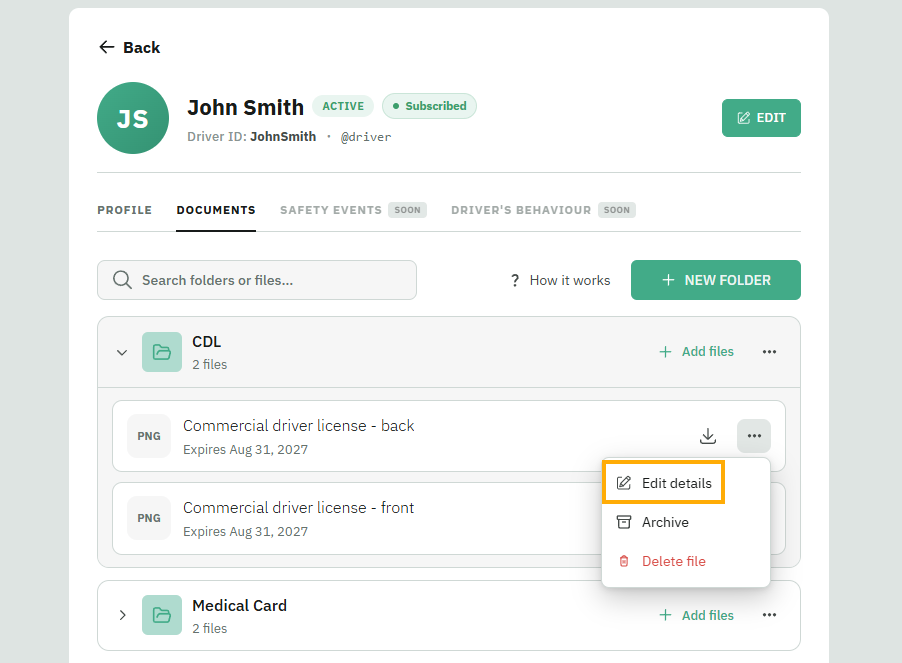
In the Edit Details modal, you can:
Rename the document — click the edit icon next to the file name.
Set or change the expiration date.
Add or edit a note.

The document file itself cannot be replaced or changed.
Archive and restore documents
Archiving is useful when a document is renewed and you want to keep the previous version as history. Add the new document to the folder, then archive the previous one.
To archive a document, open the Actions menu by clicking the three-dot icon in the file row and select Archive.
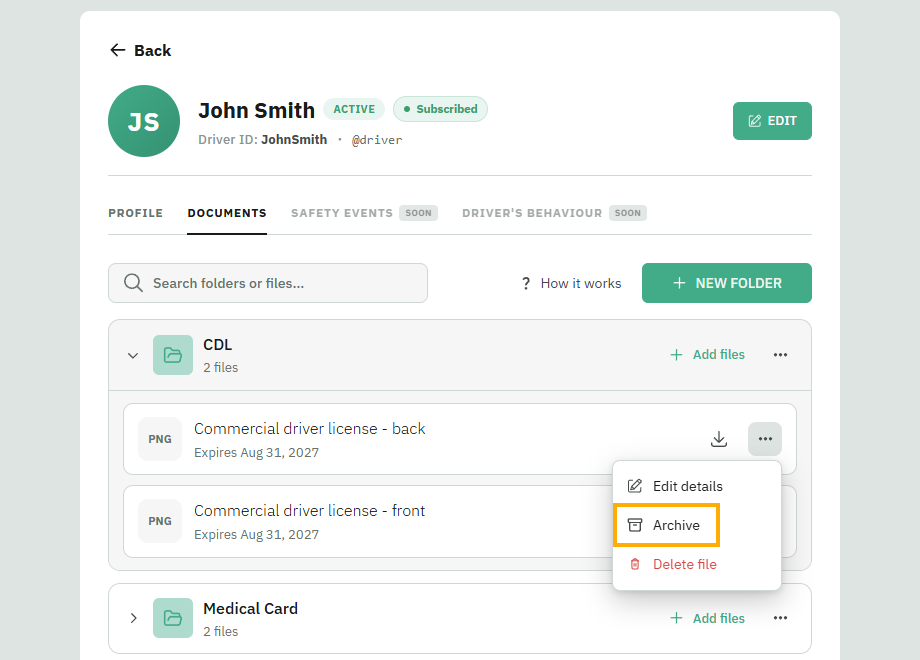
The document moves to the folder’s Archived section and is shown in grey with an Archived label.
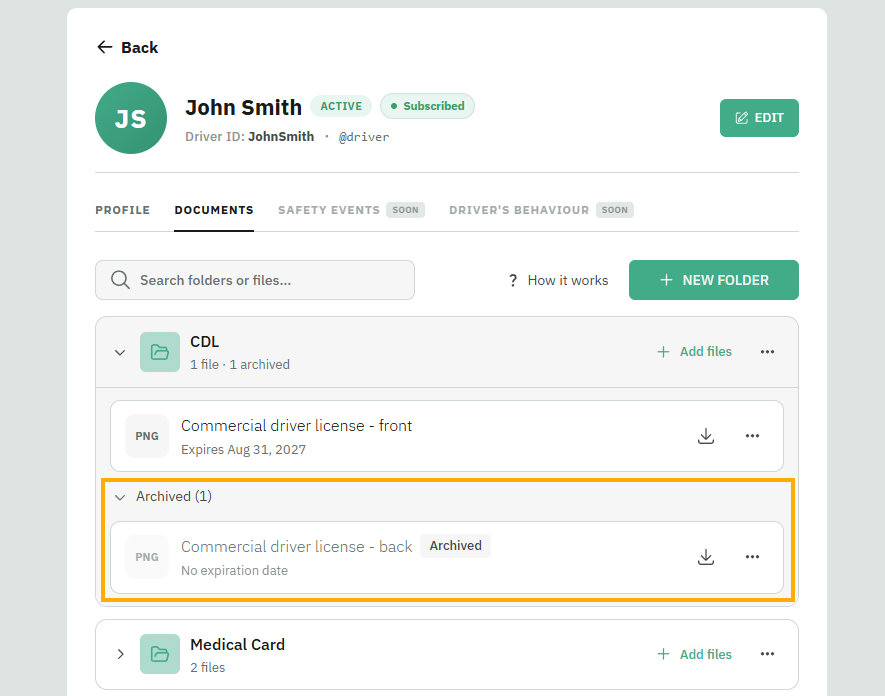
Archived documents:
Remain in the same folder and can still be viewed and downloaded.
Don't appear as expired or expiring.
Don't trigger expiration alerts.
To restore a document, open the Actions menu on an archived document and select Restore. The document moves back to the active documents list.

Delete
Deleting is permanent. Use it for documents added by mistake; if you want to keep a document as history, archive it instead.
Delete a document — permanently removes the file. You'll be asked to confirm.
Delete a folder — permanently removes the folder and all documents in it. You'll be asked to confirm.
Set folder visibility
Each folder can be set to Visible or Hidden for drivers. Folders are Hidden by default, so nothing will be shared with drivers until you choose to make a folder visible. Hidden folders are marked so you can tell them apart at a glance.
When you set a folder to Visible, the binder determines who will see it based on where the folder belongs:
A driver folder → that driver
A vehicle or trailer folder → the drivers currently assigned to it, including co-drivers
A company folder → all drivers
Who can see the folder updates automatically as assignments change..
Driver access through the app is coming in a future release. You can set folder visibility now, and those settings will determine who can access the folders when driver access becomes available.