Activate & Assign a GPS Tracker
Last updated 2 months ago
The GPS Trackers feature lets you monitor the real-time location and movement of your vehicles and trailers directly from the Admin Portal. This article walks you through purchasing and activating your GPS trackers, naming them for easy identification, and assigning them to your assets.
Activate GPS Trackers
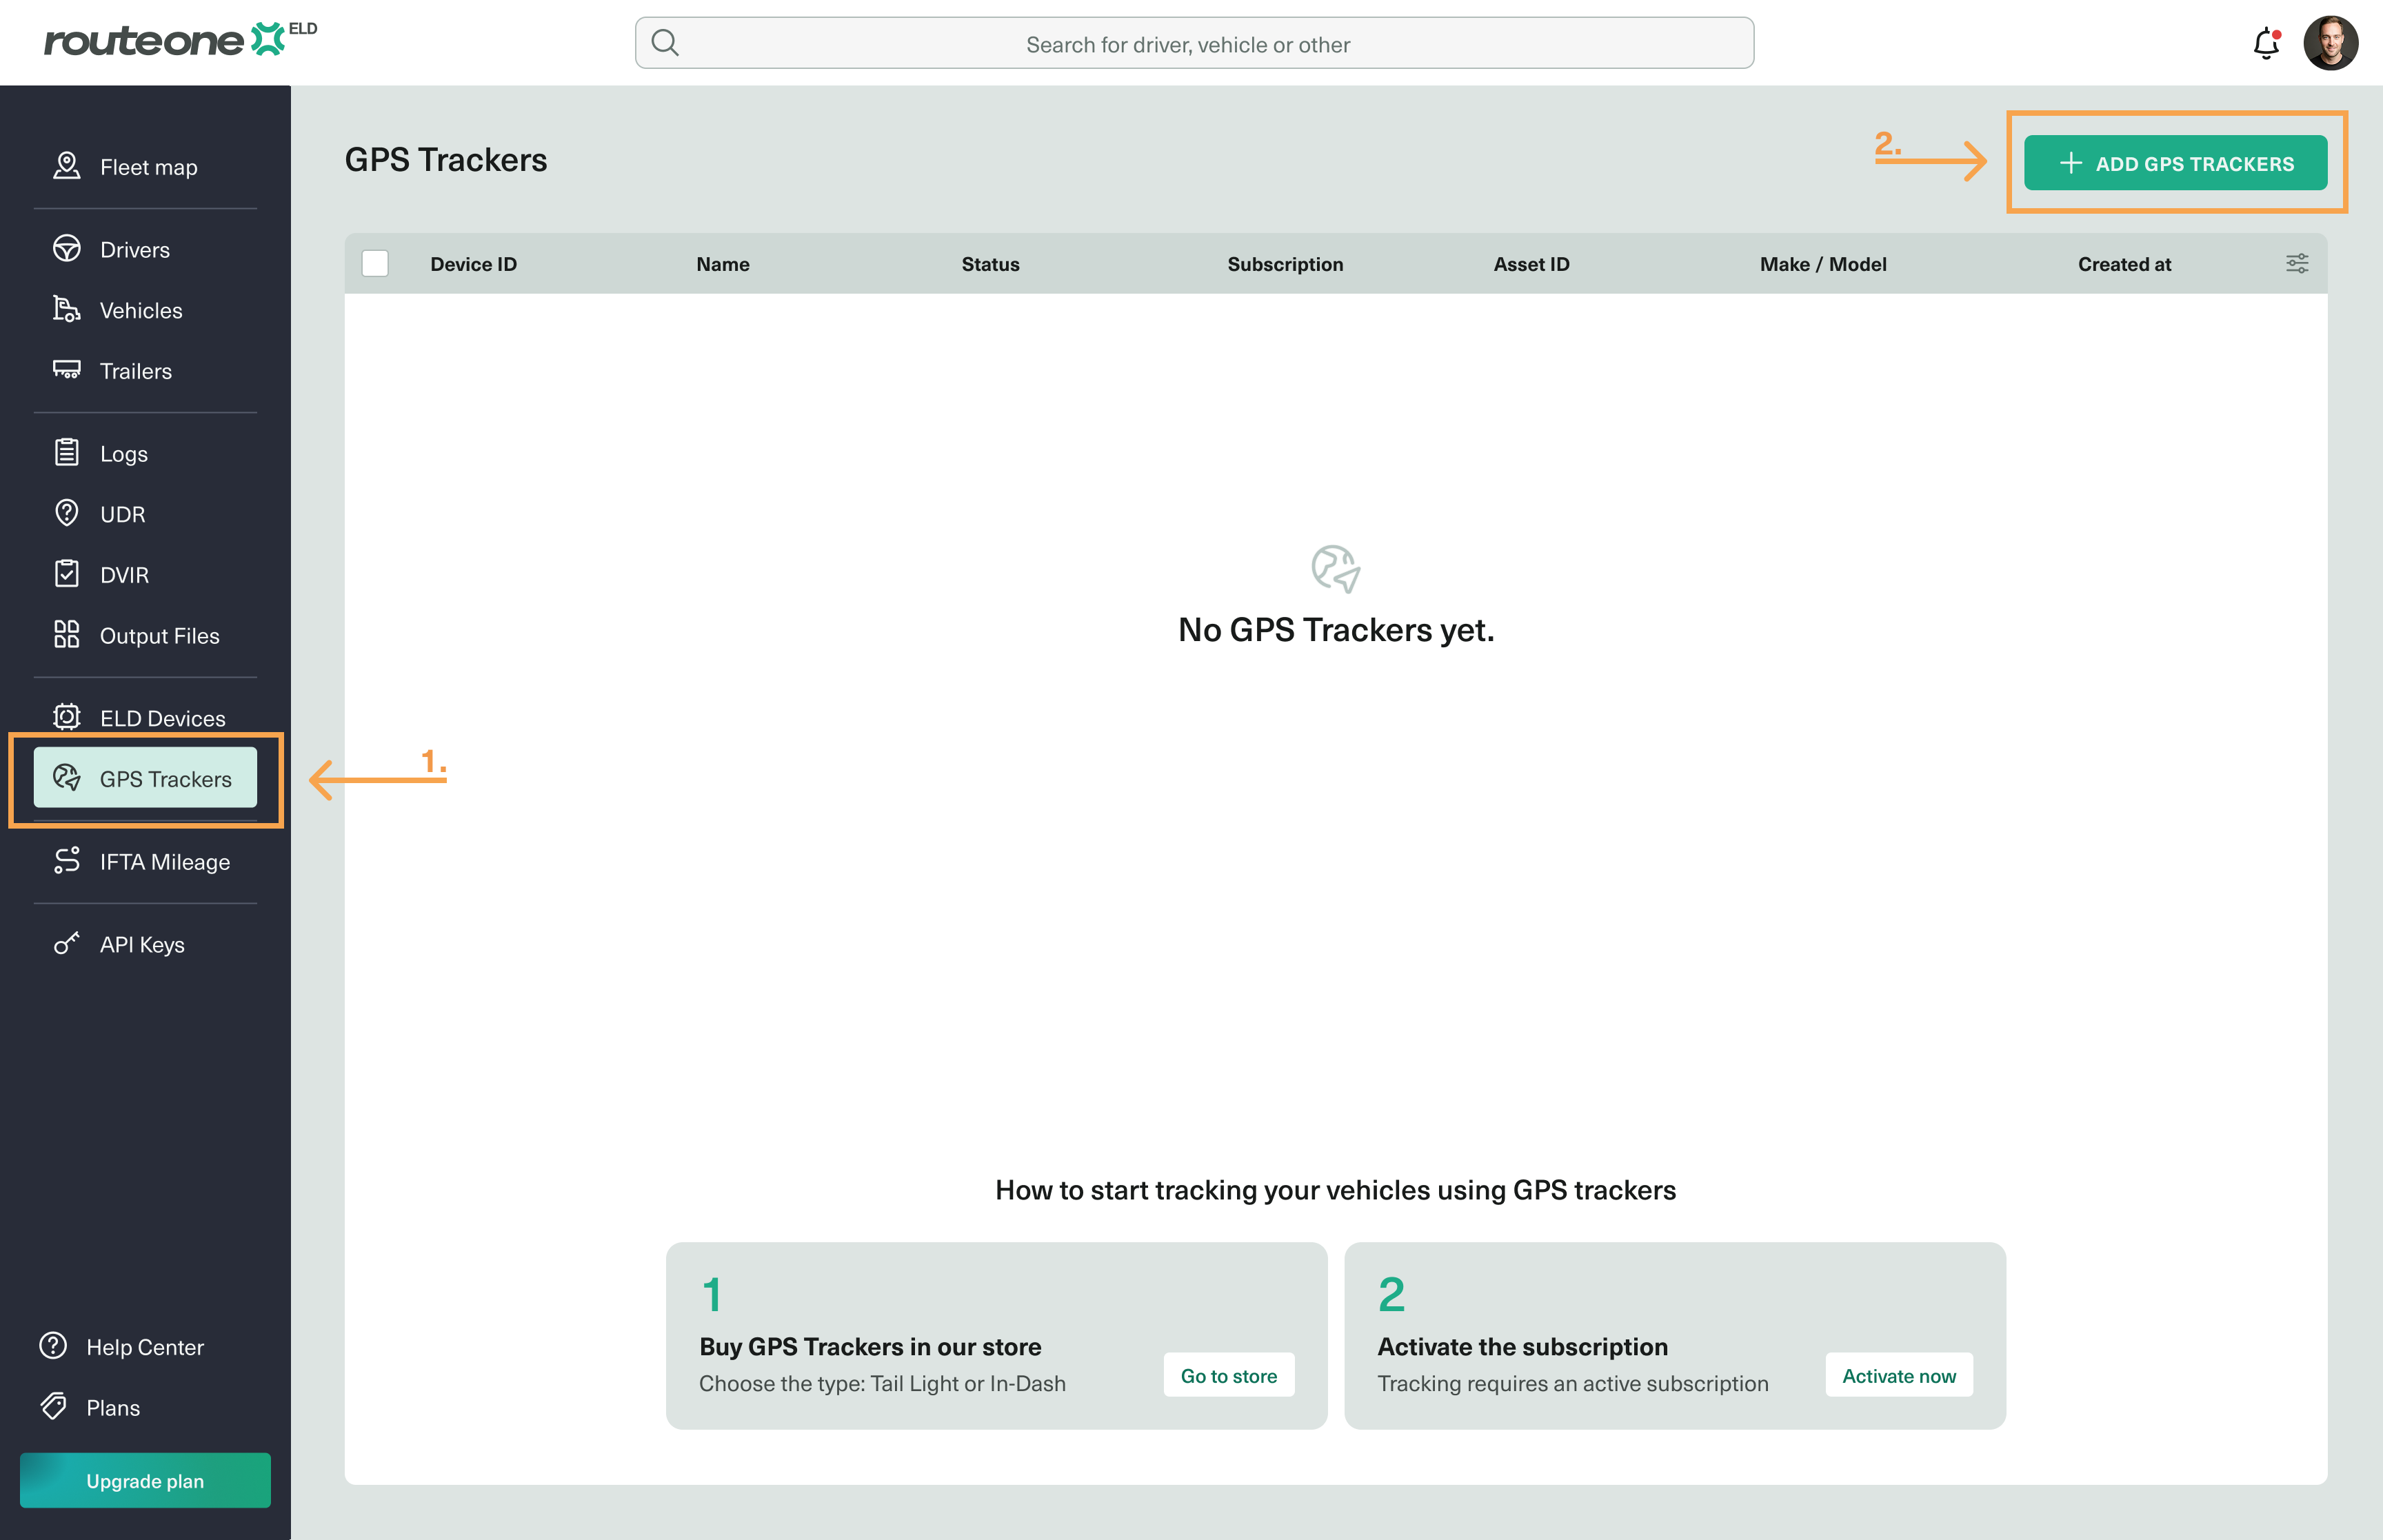
Navigate to the GPS Trackers tab in the sidebar menu.
Click Add GPS Trackers.
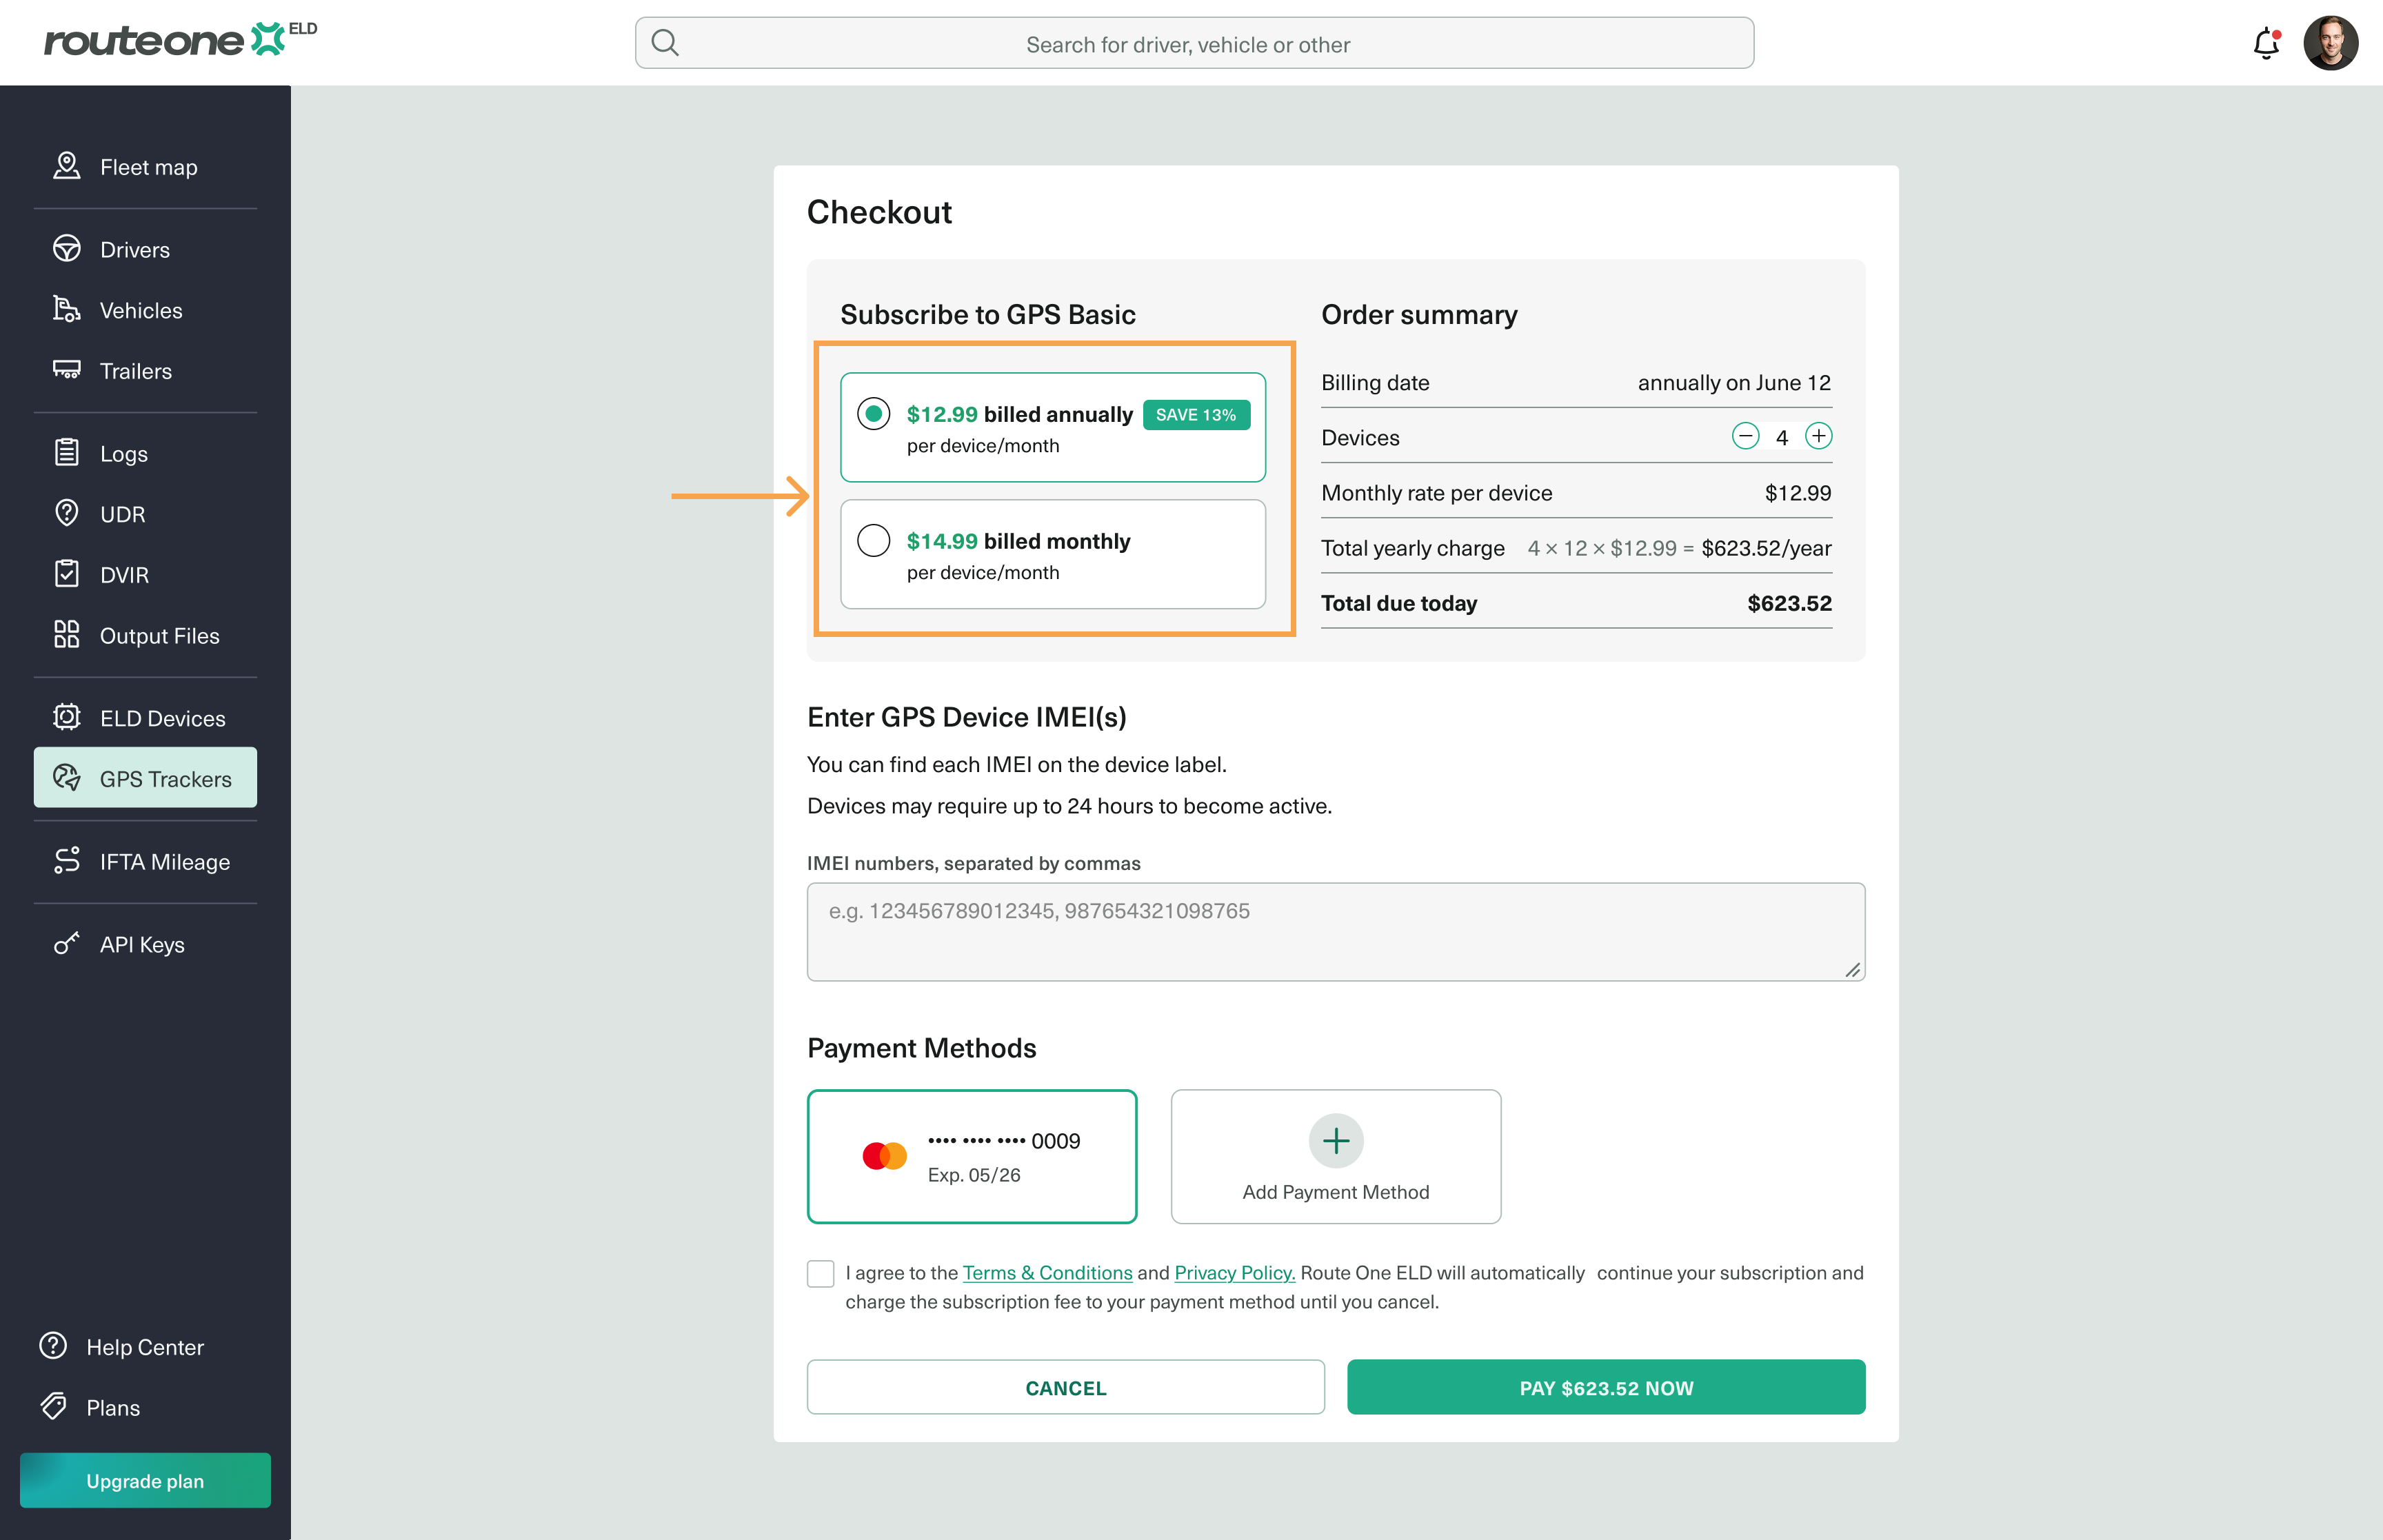
On the Checkout screen, choose the billing type.
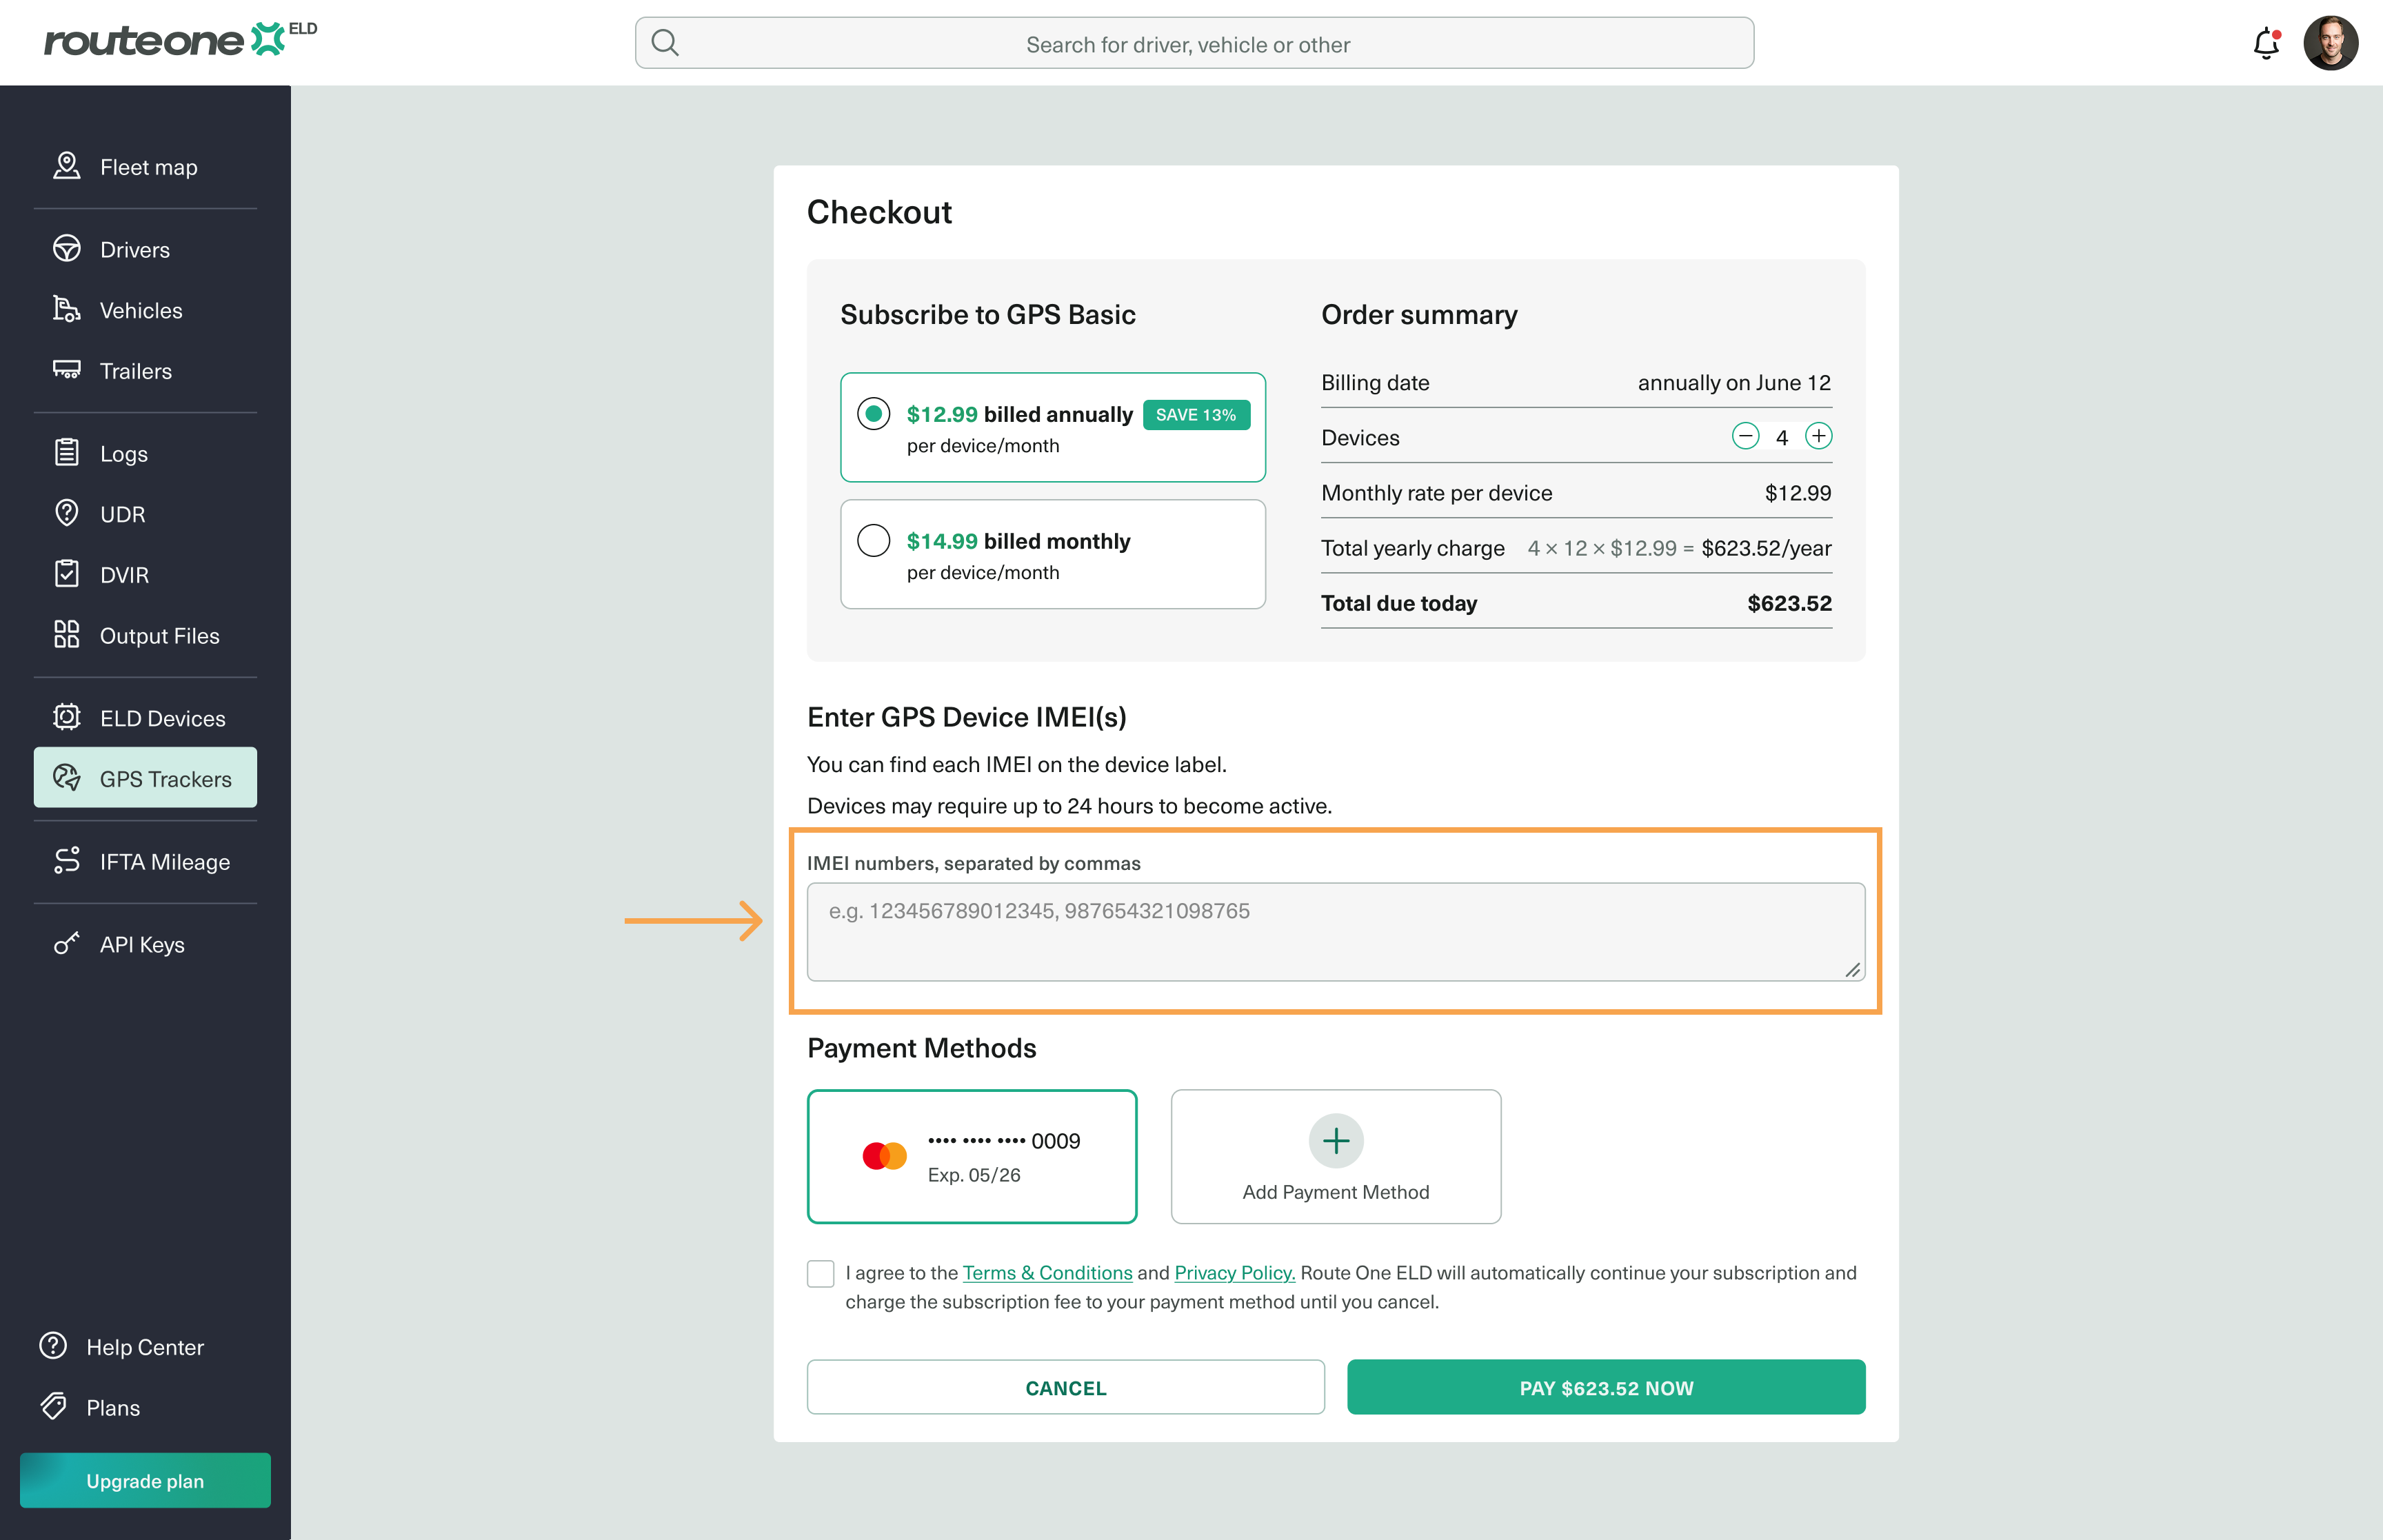
Enter the GPS trackers' IMEIs separated by commas. IMEIs are found on the label of each GPS tracker — have them ready before installing the devices into the truck.
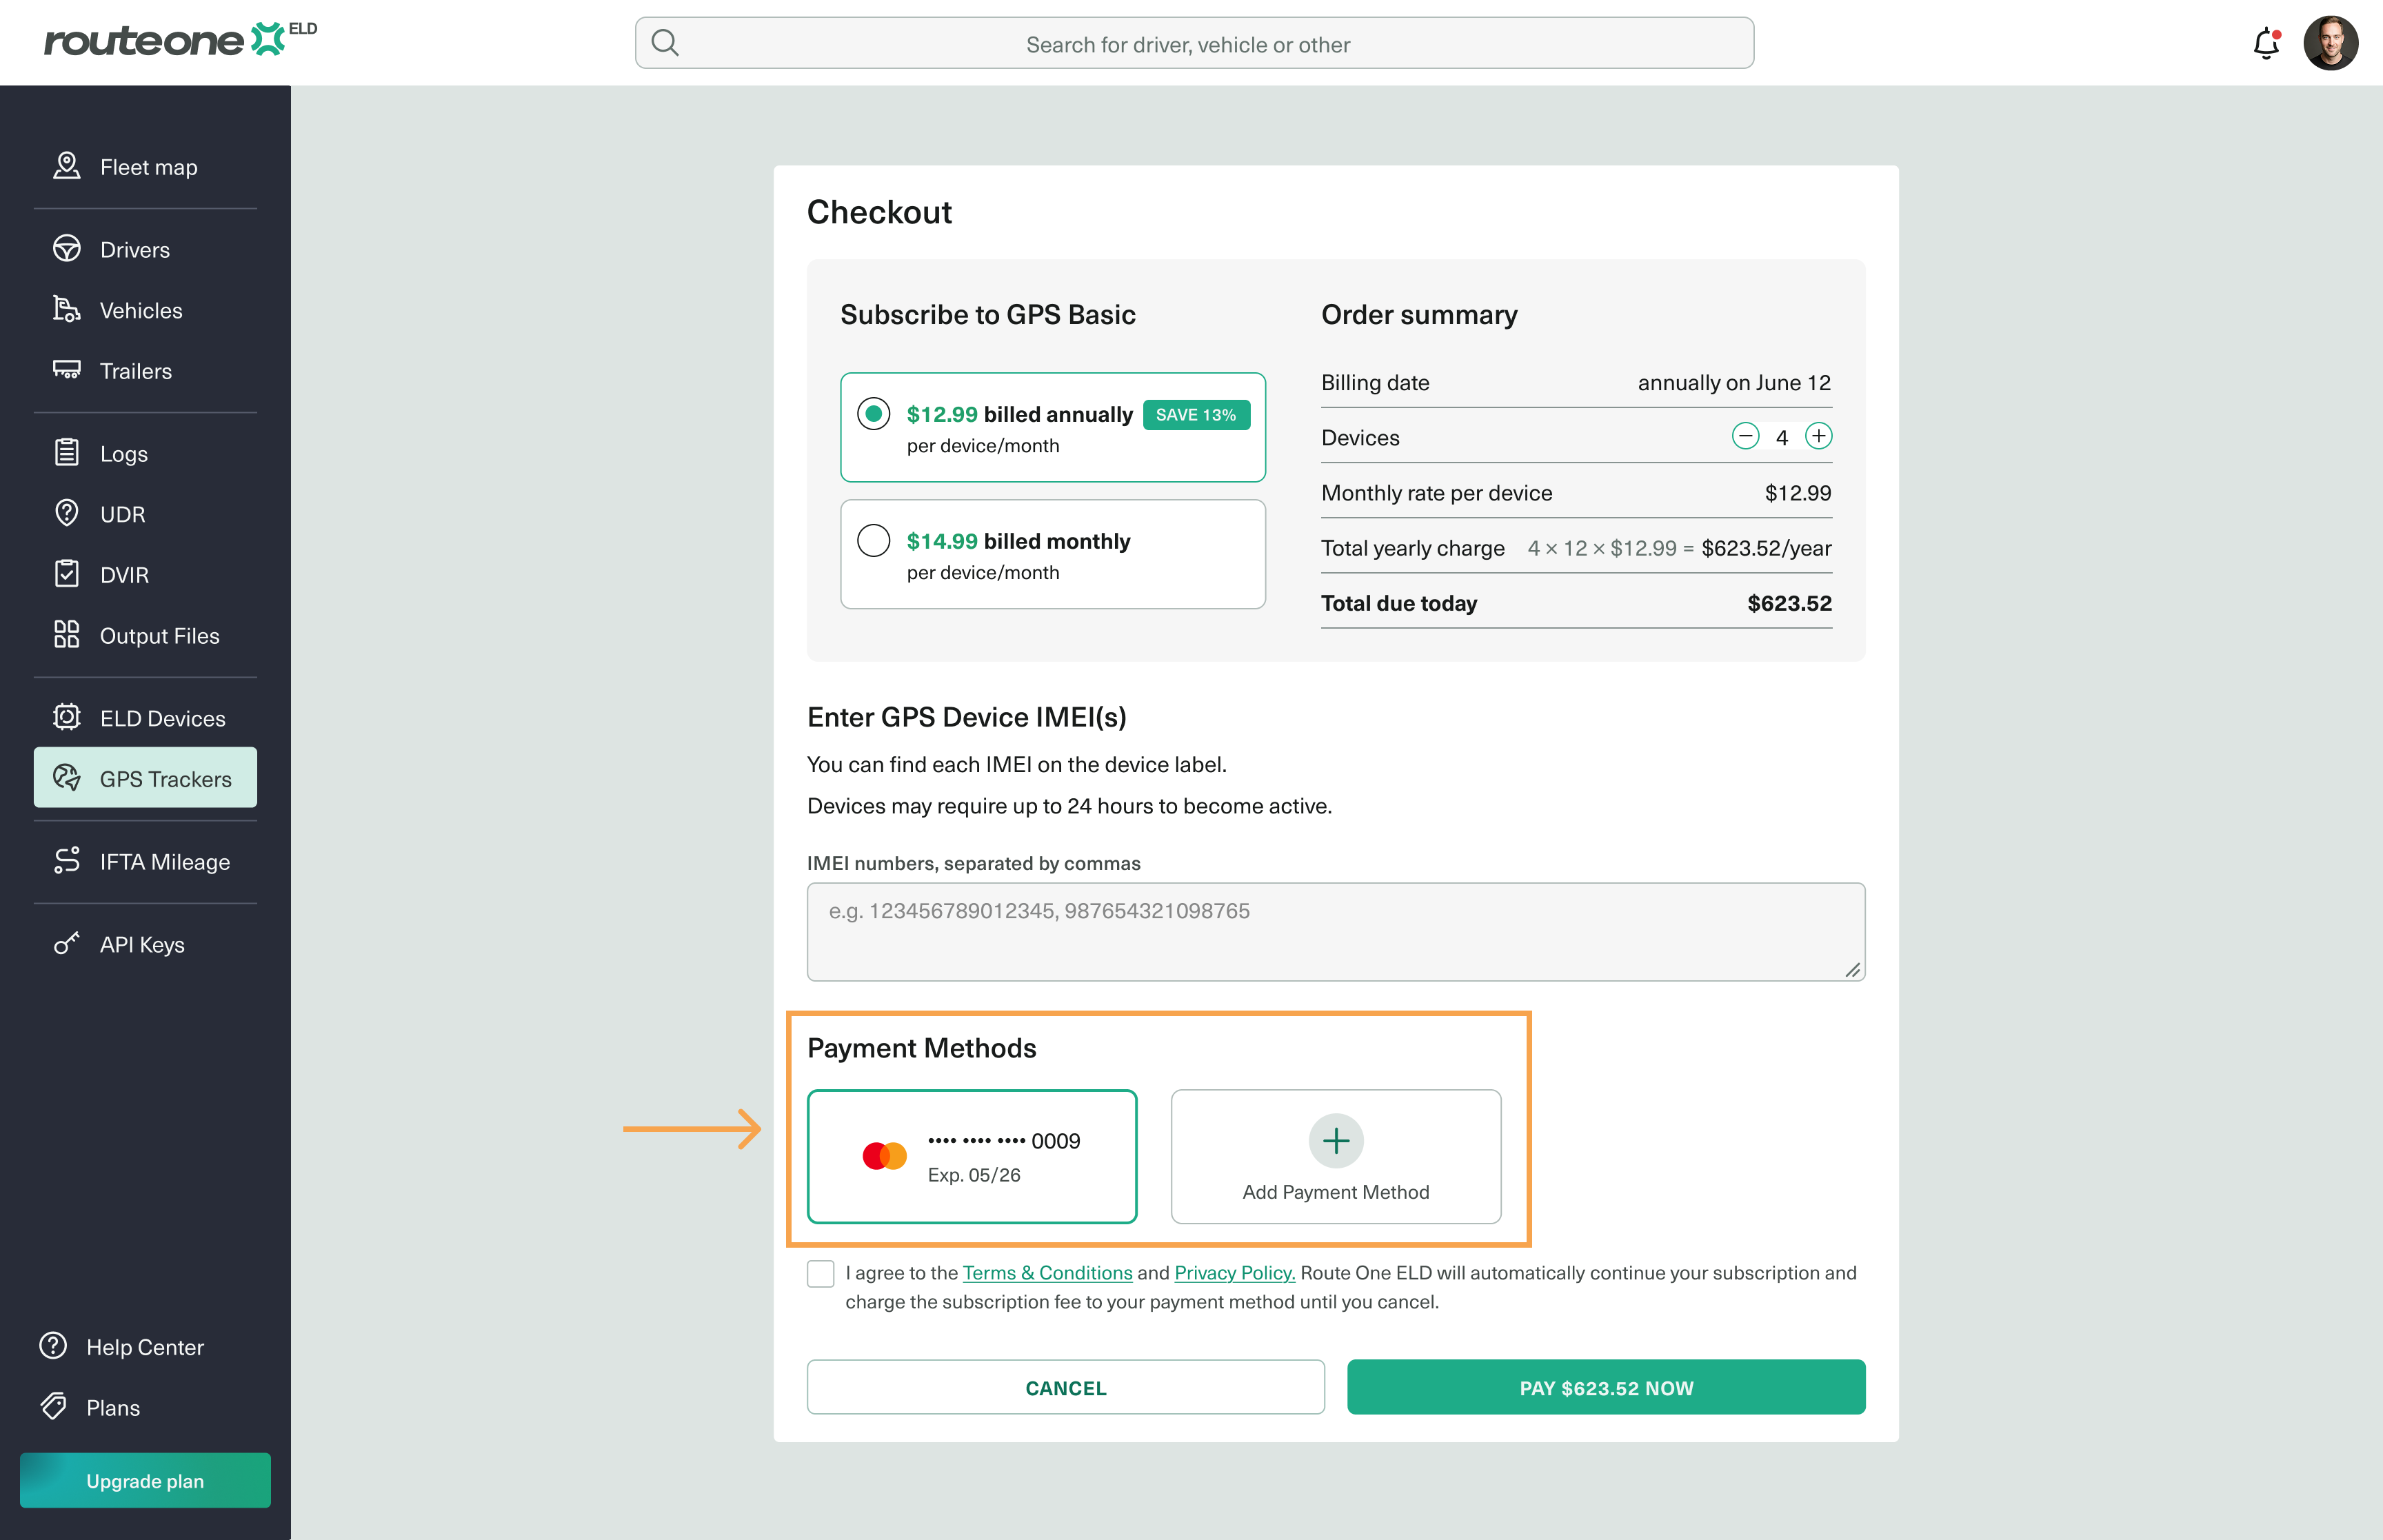
Add a payment method.
Click Pay Now.
Once payment is successful, all added GPS Trackers appear in your account.
Name a GPS Tracker
Use custom names for quick management and identification of your devices.
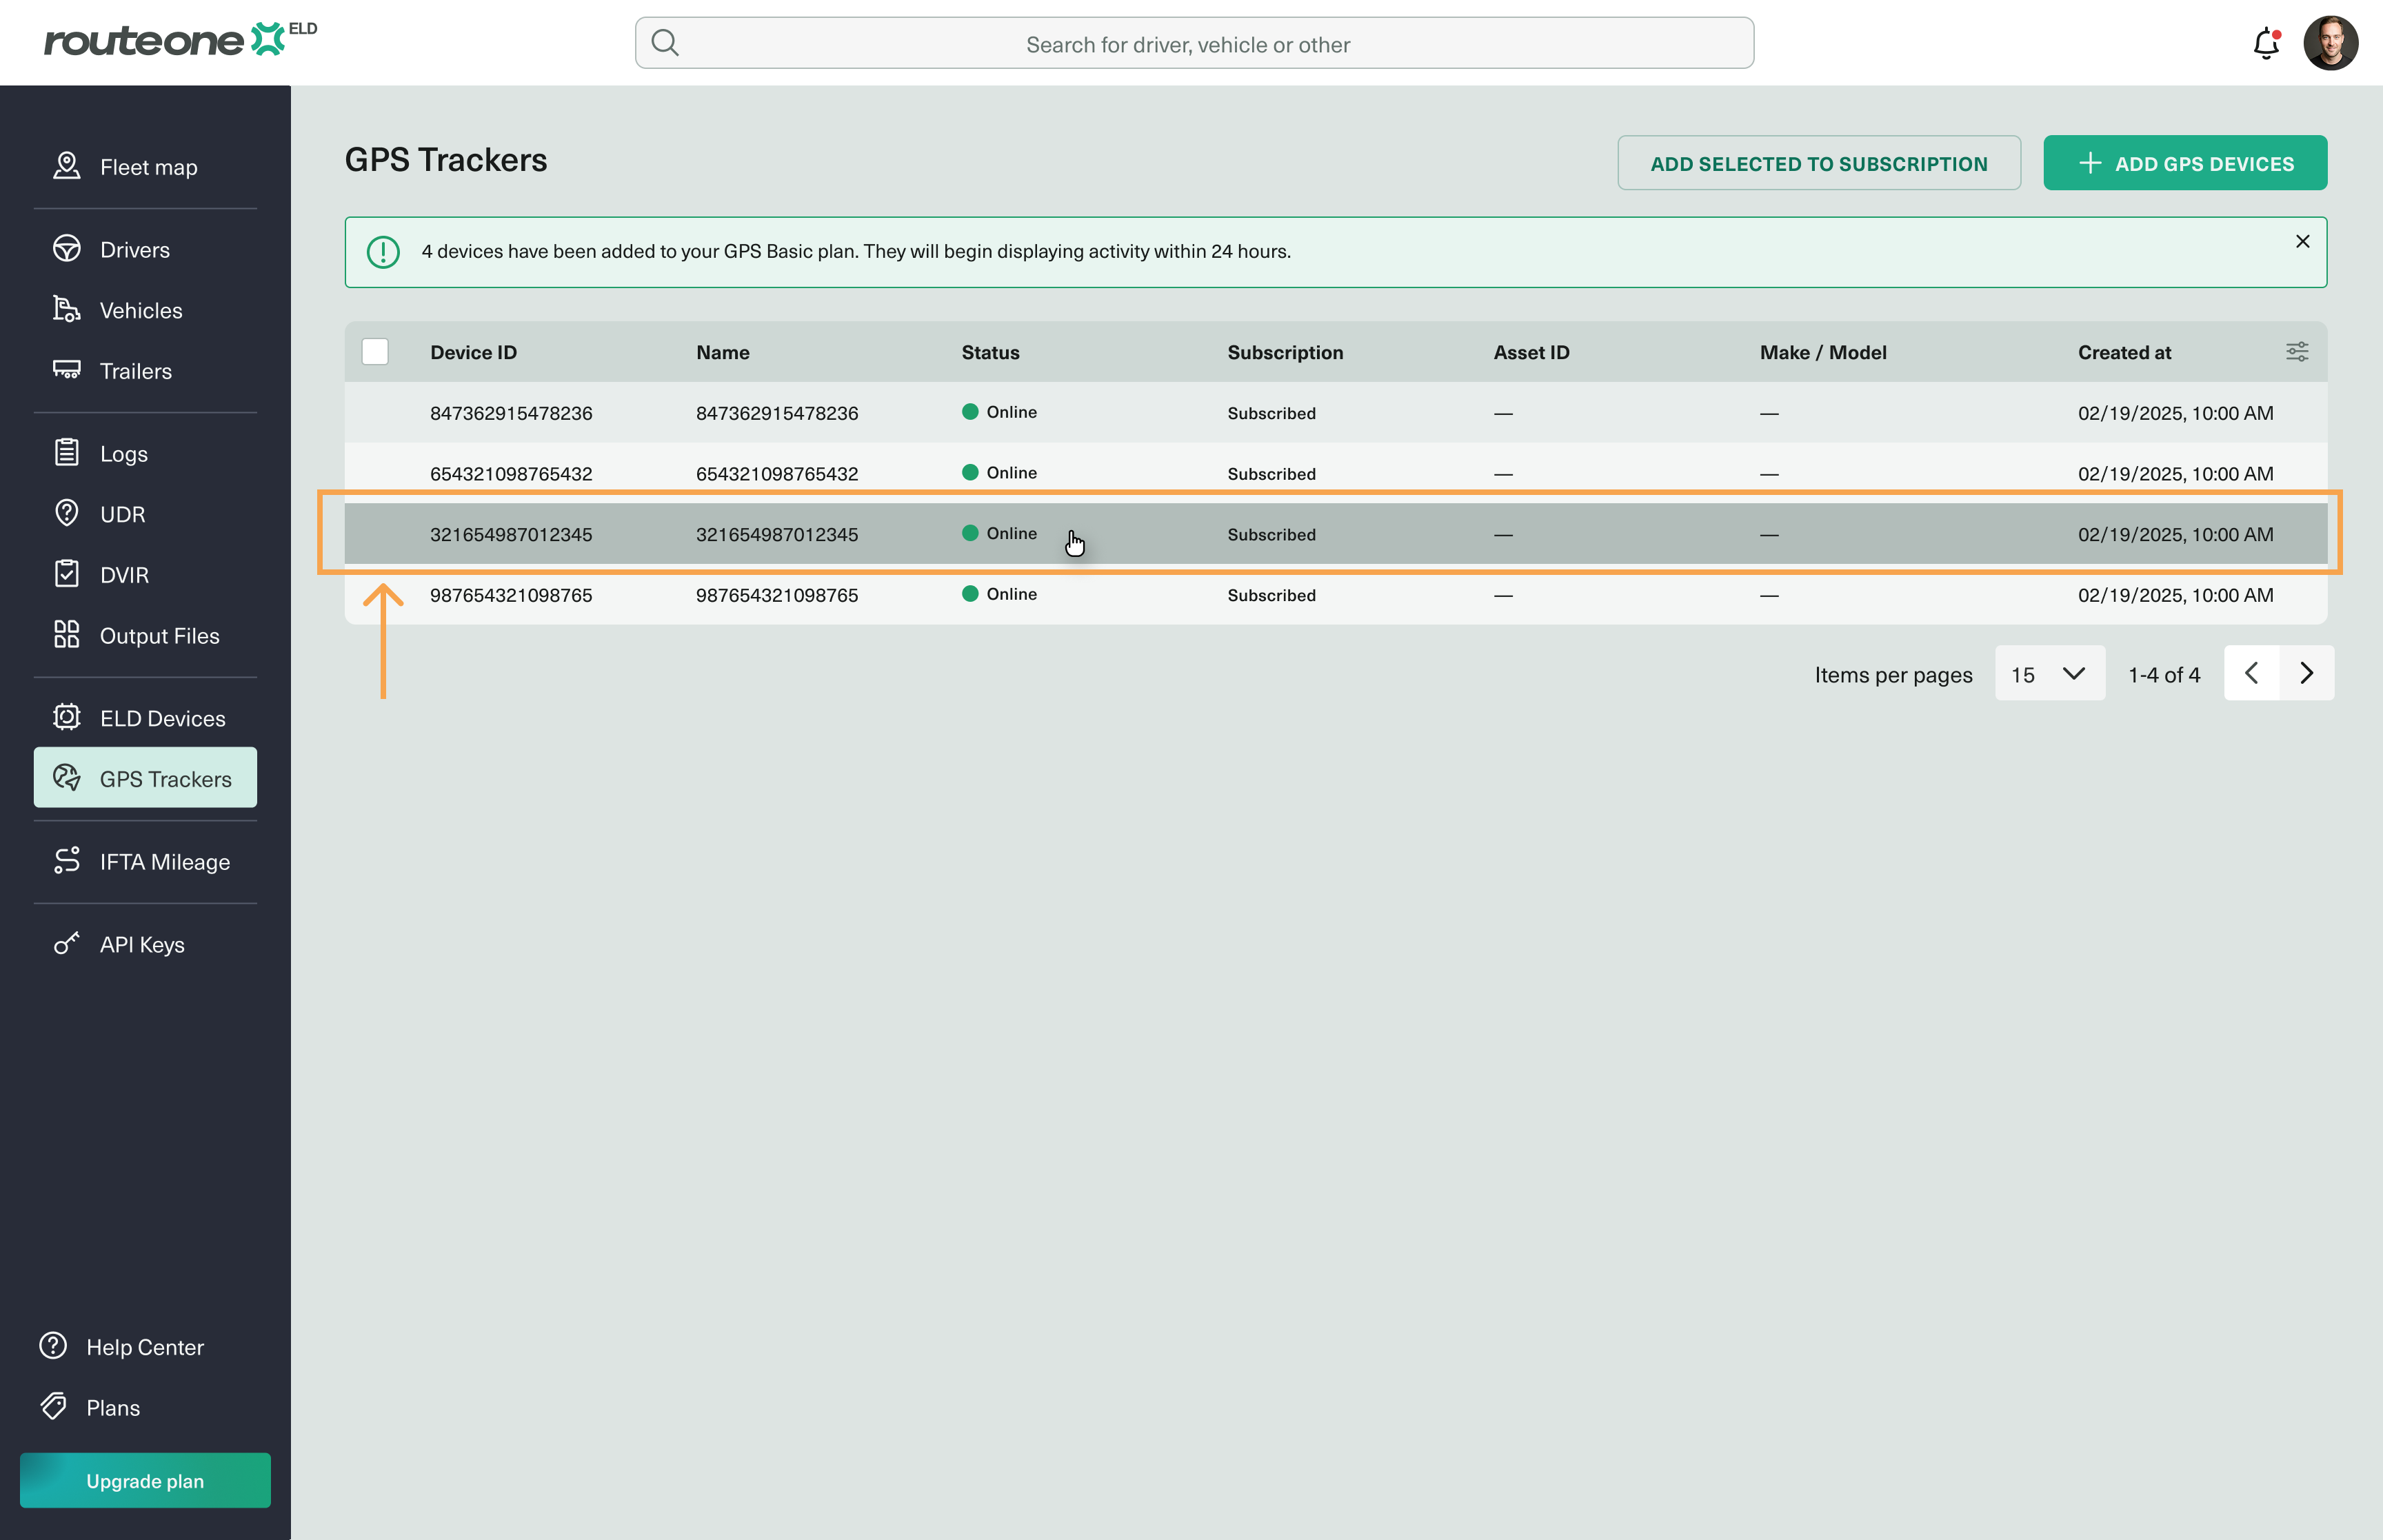
Select a GPS Tracker from the list.
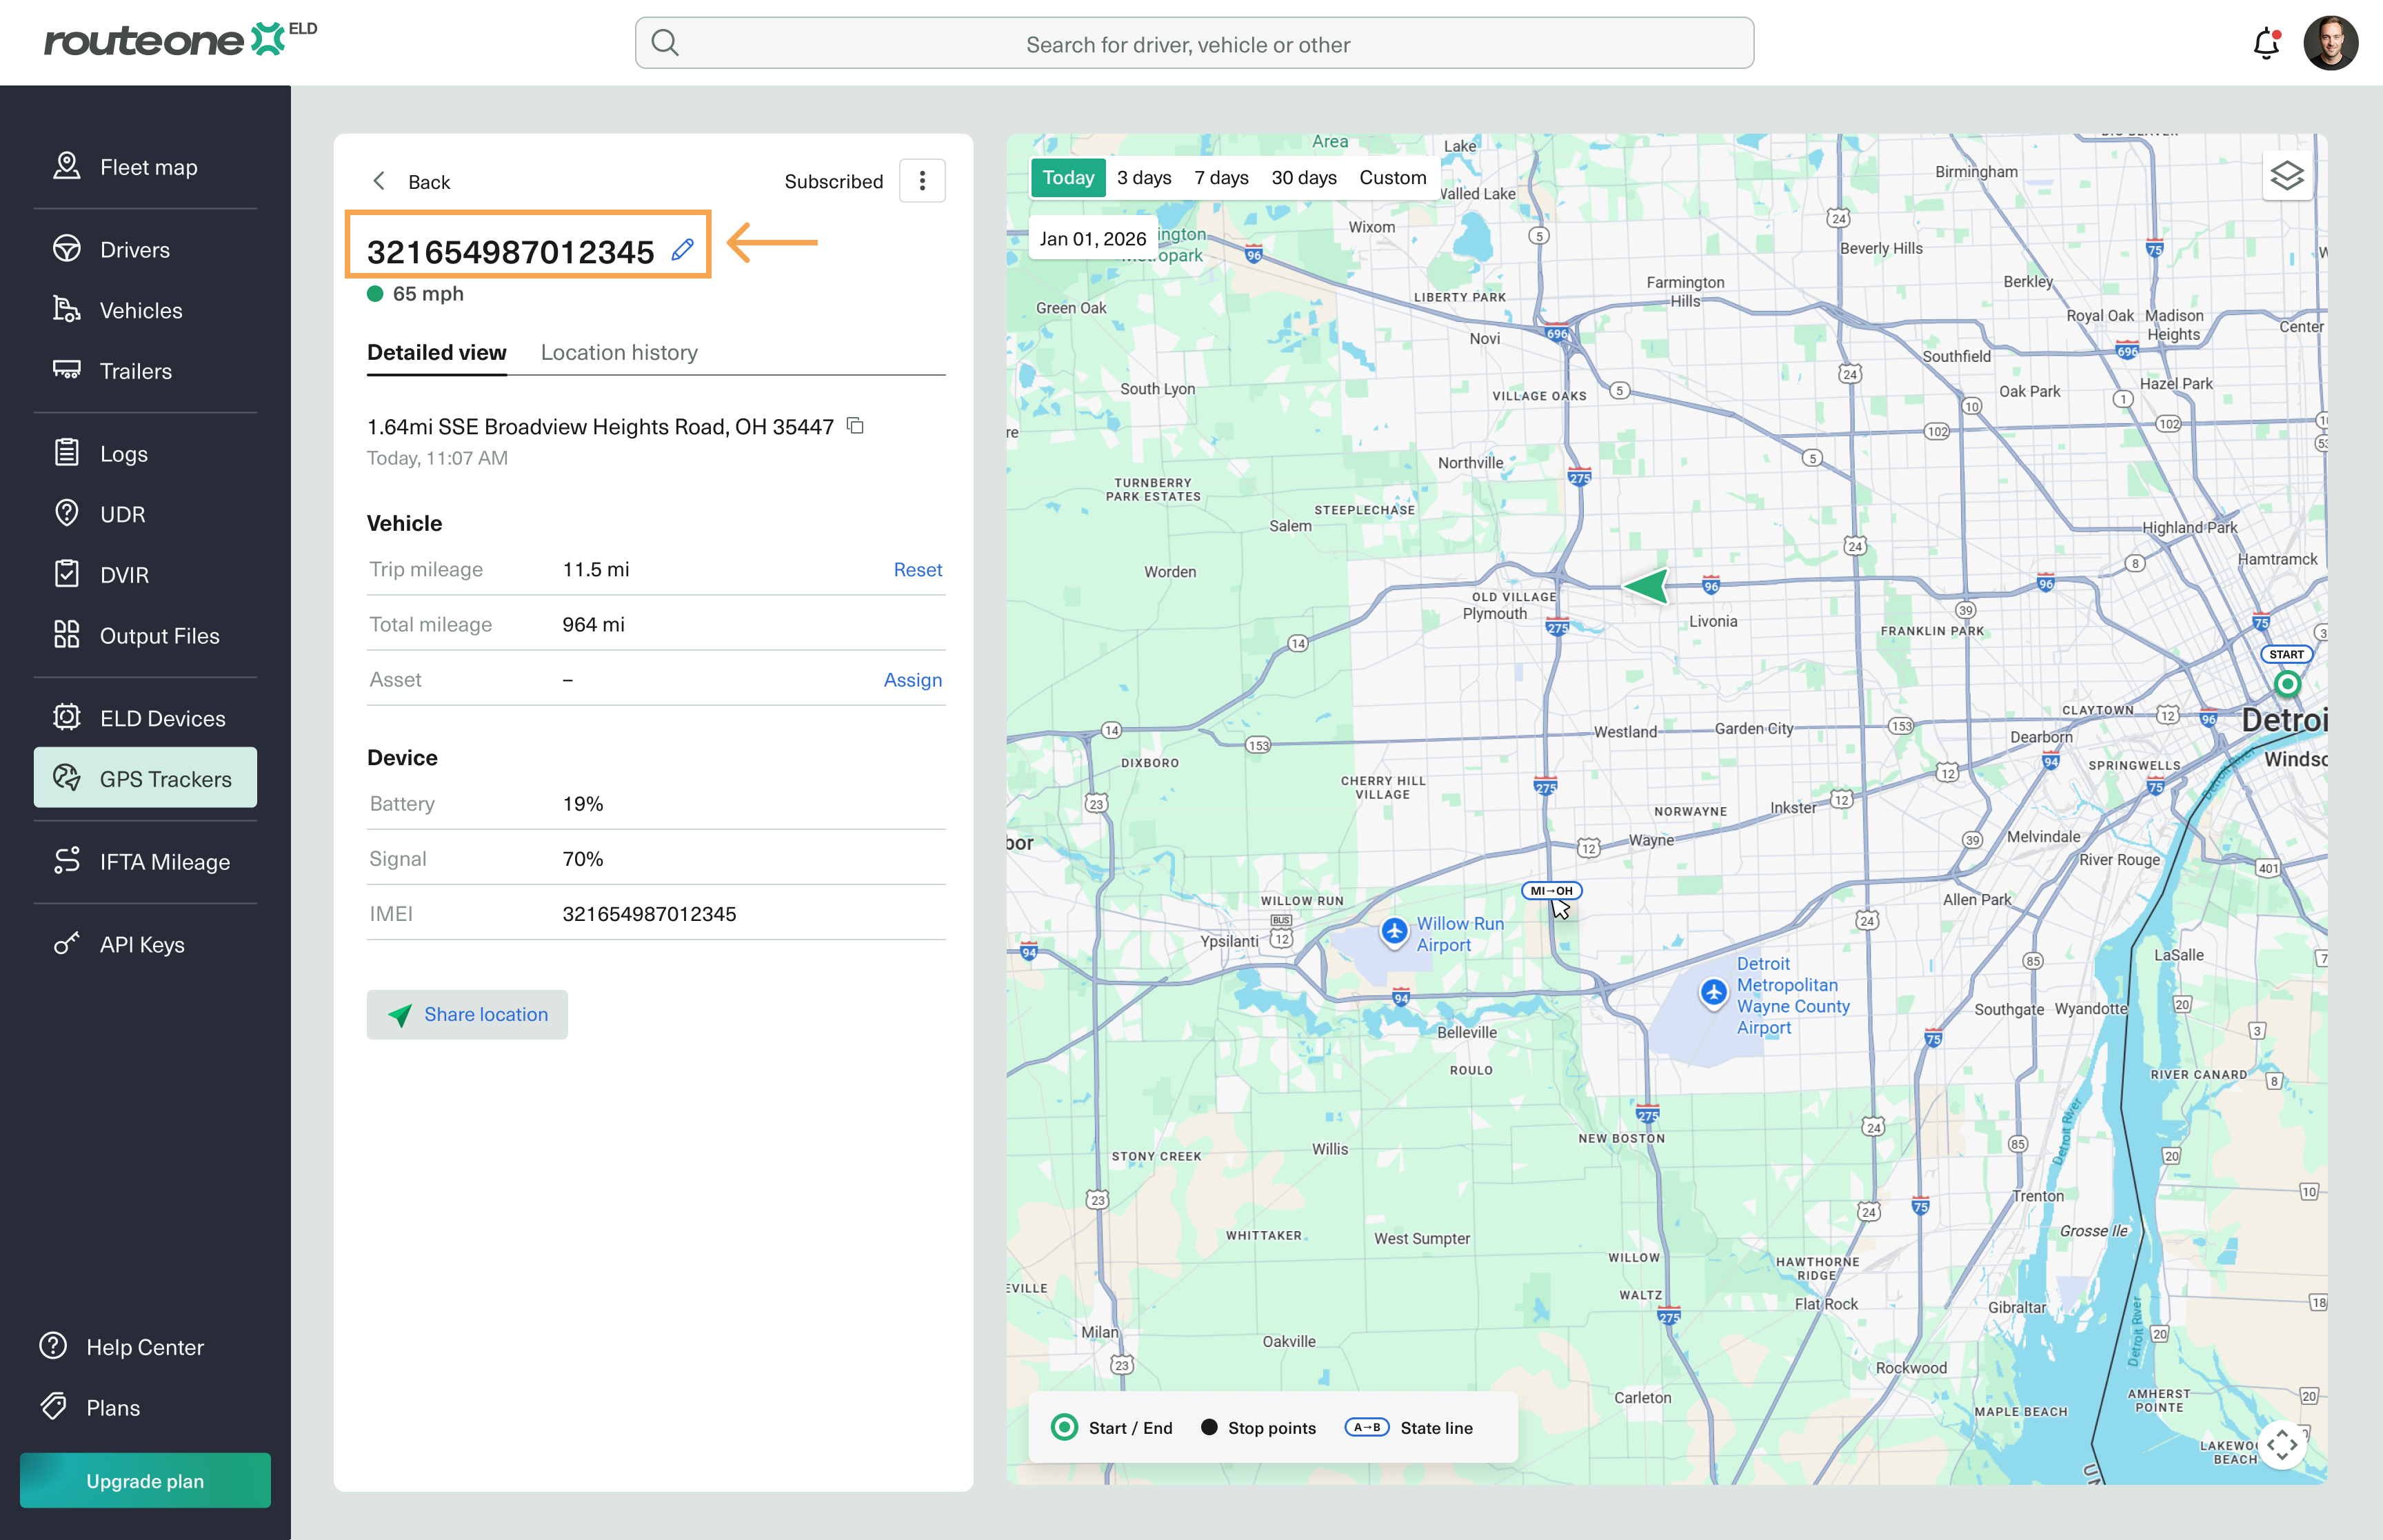
Next to its IMEI, click the Edit icon.
Enter your custom name.
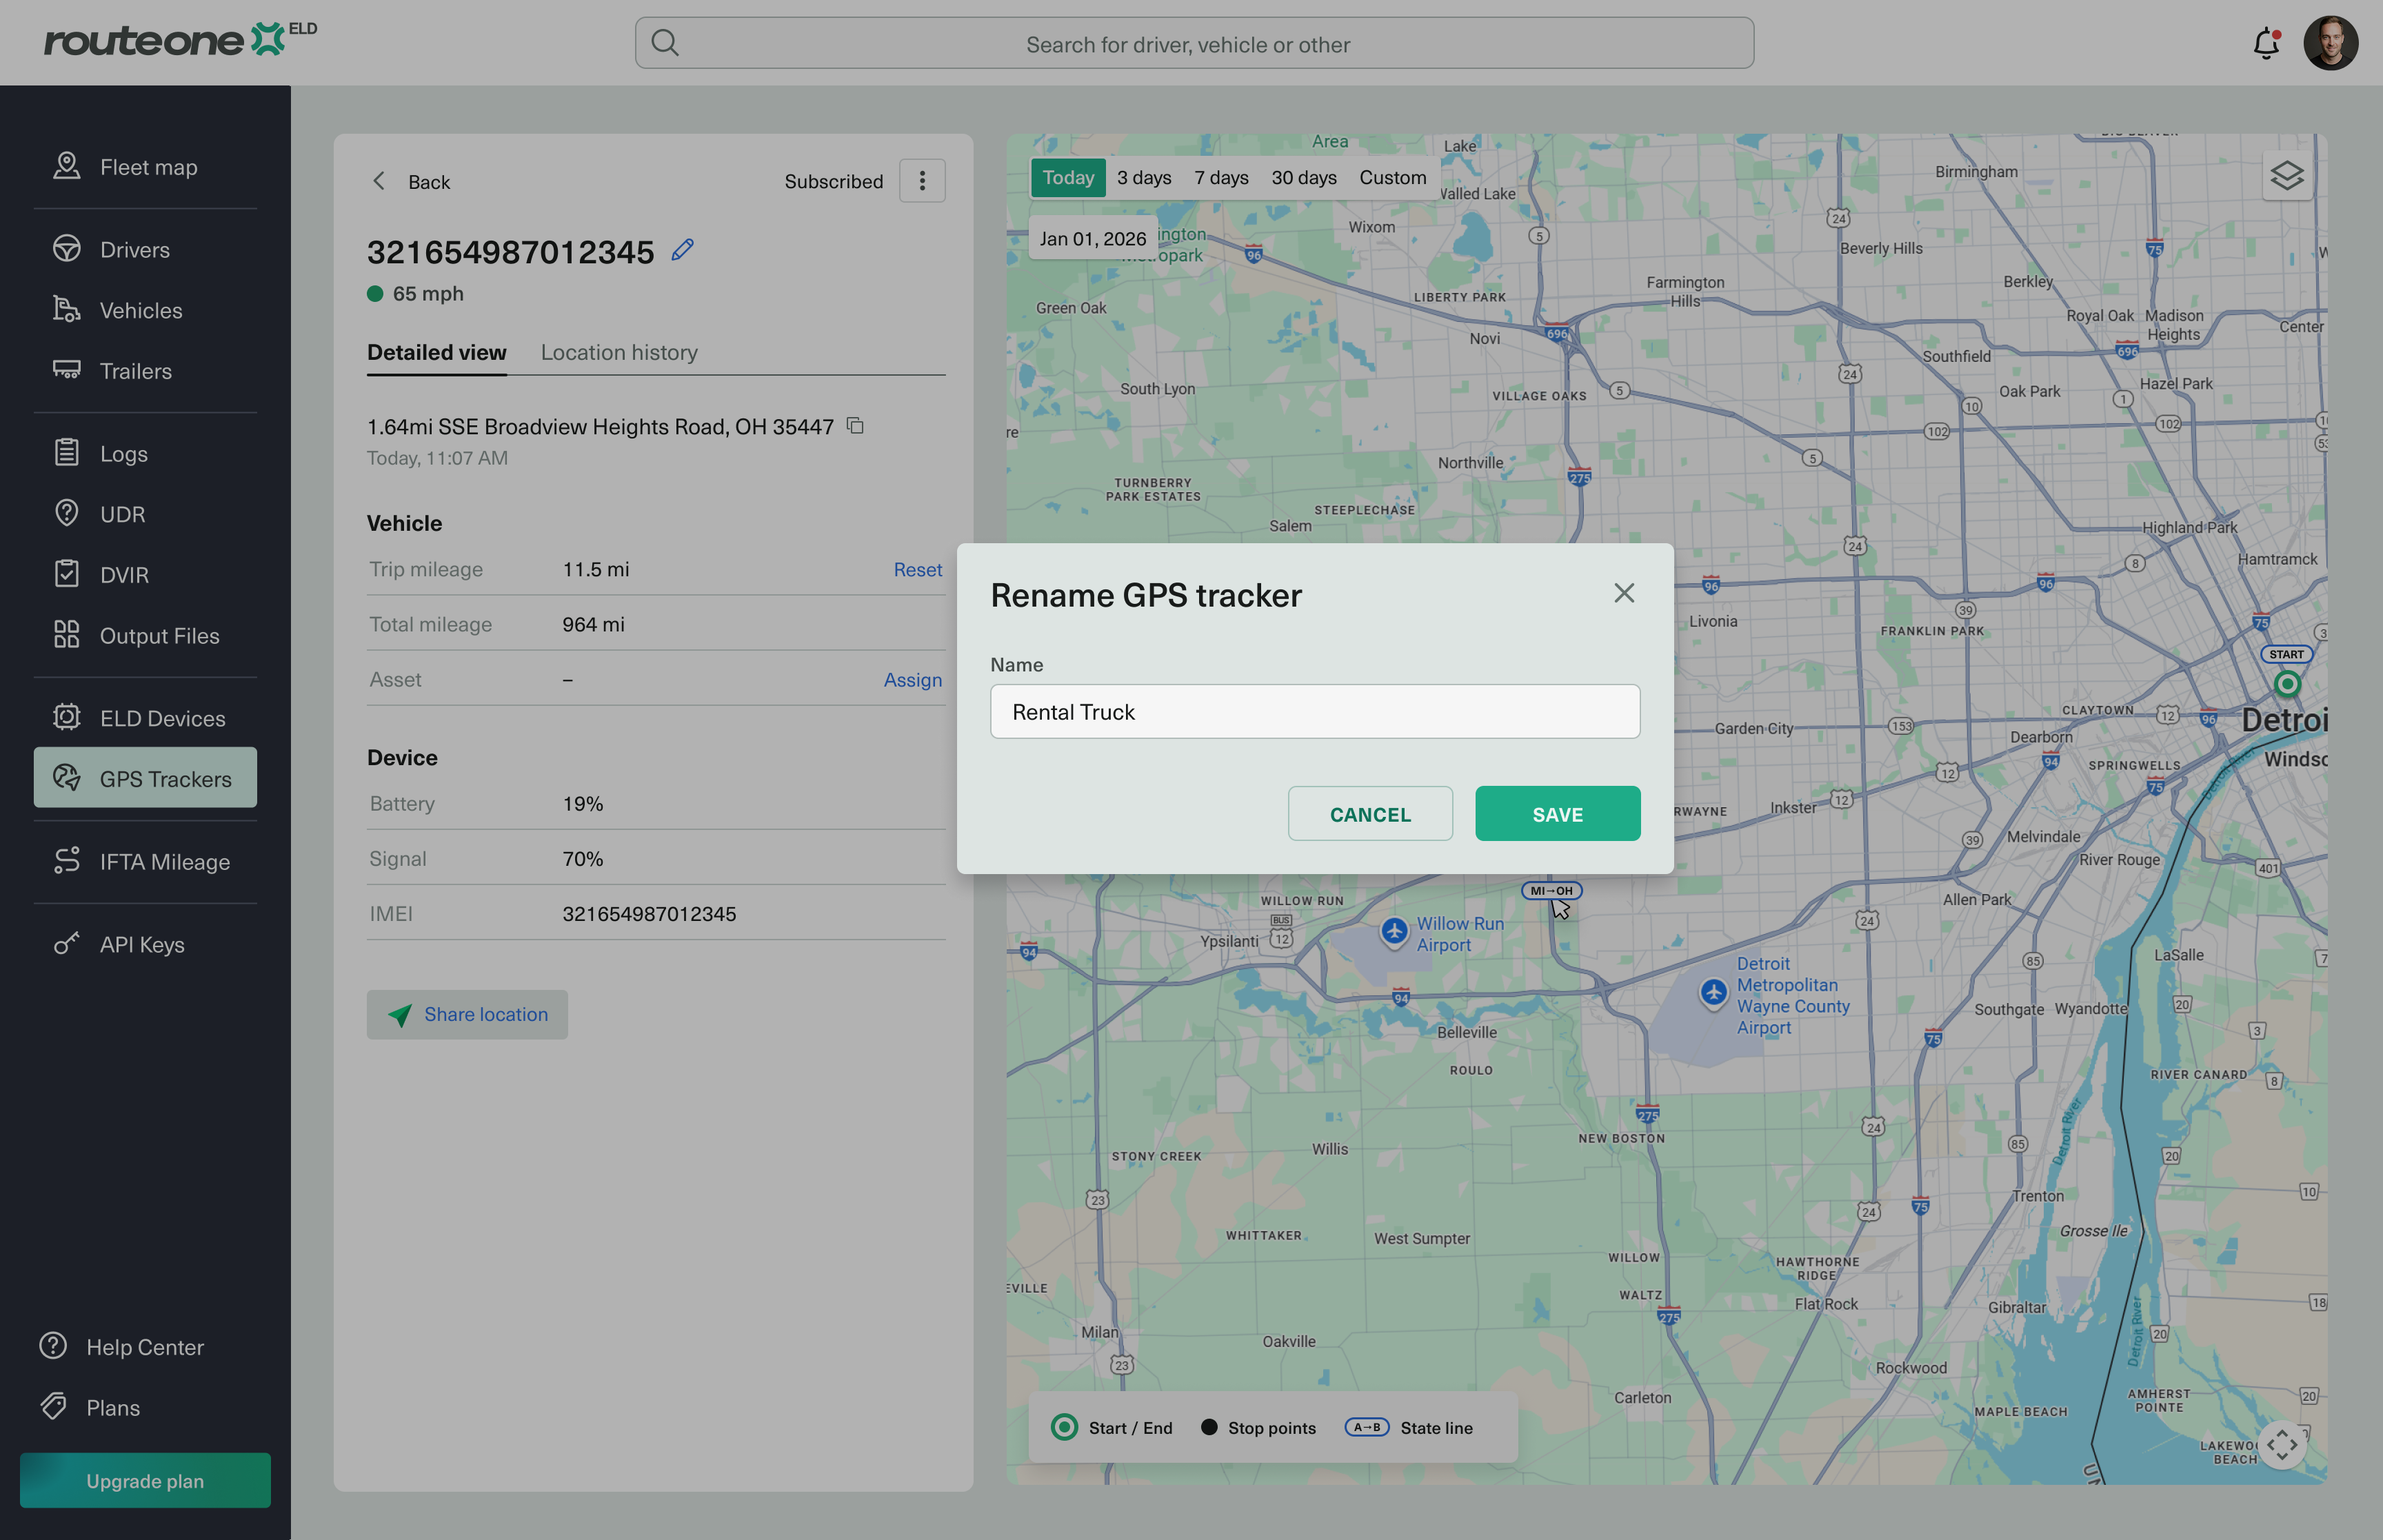
Save your changes.
Assign the GPS Tracker to an asset
Note
For accurate management and reporting, we recommend assigning each GPS tracker to an asset.
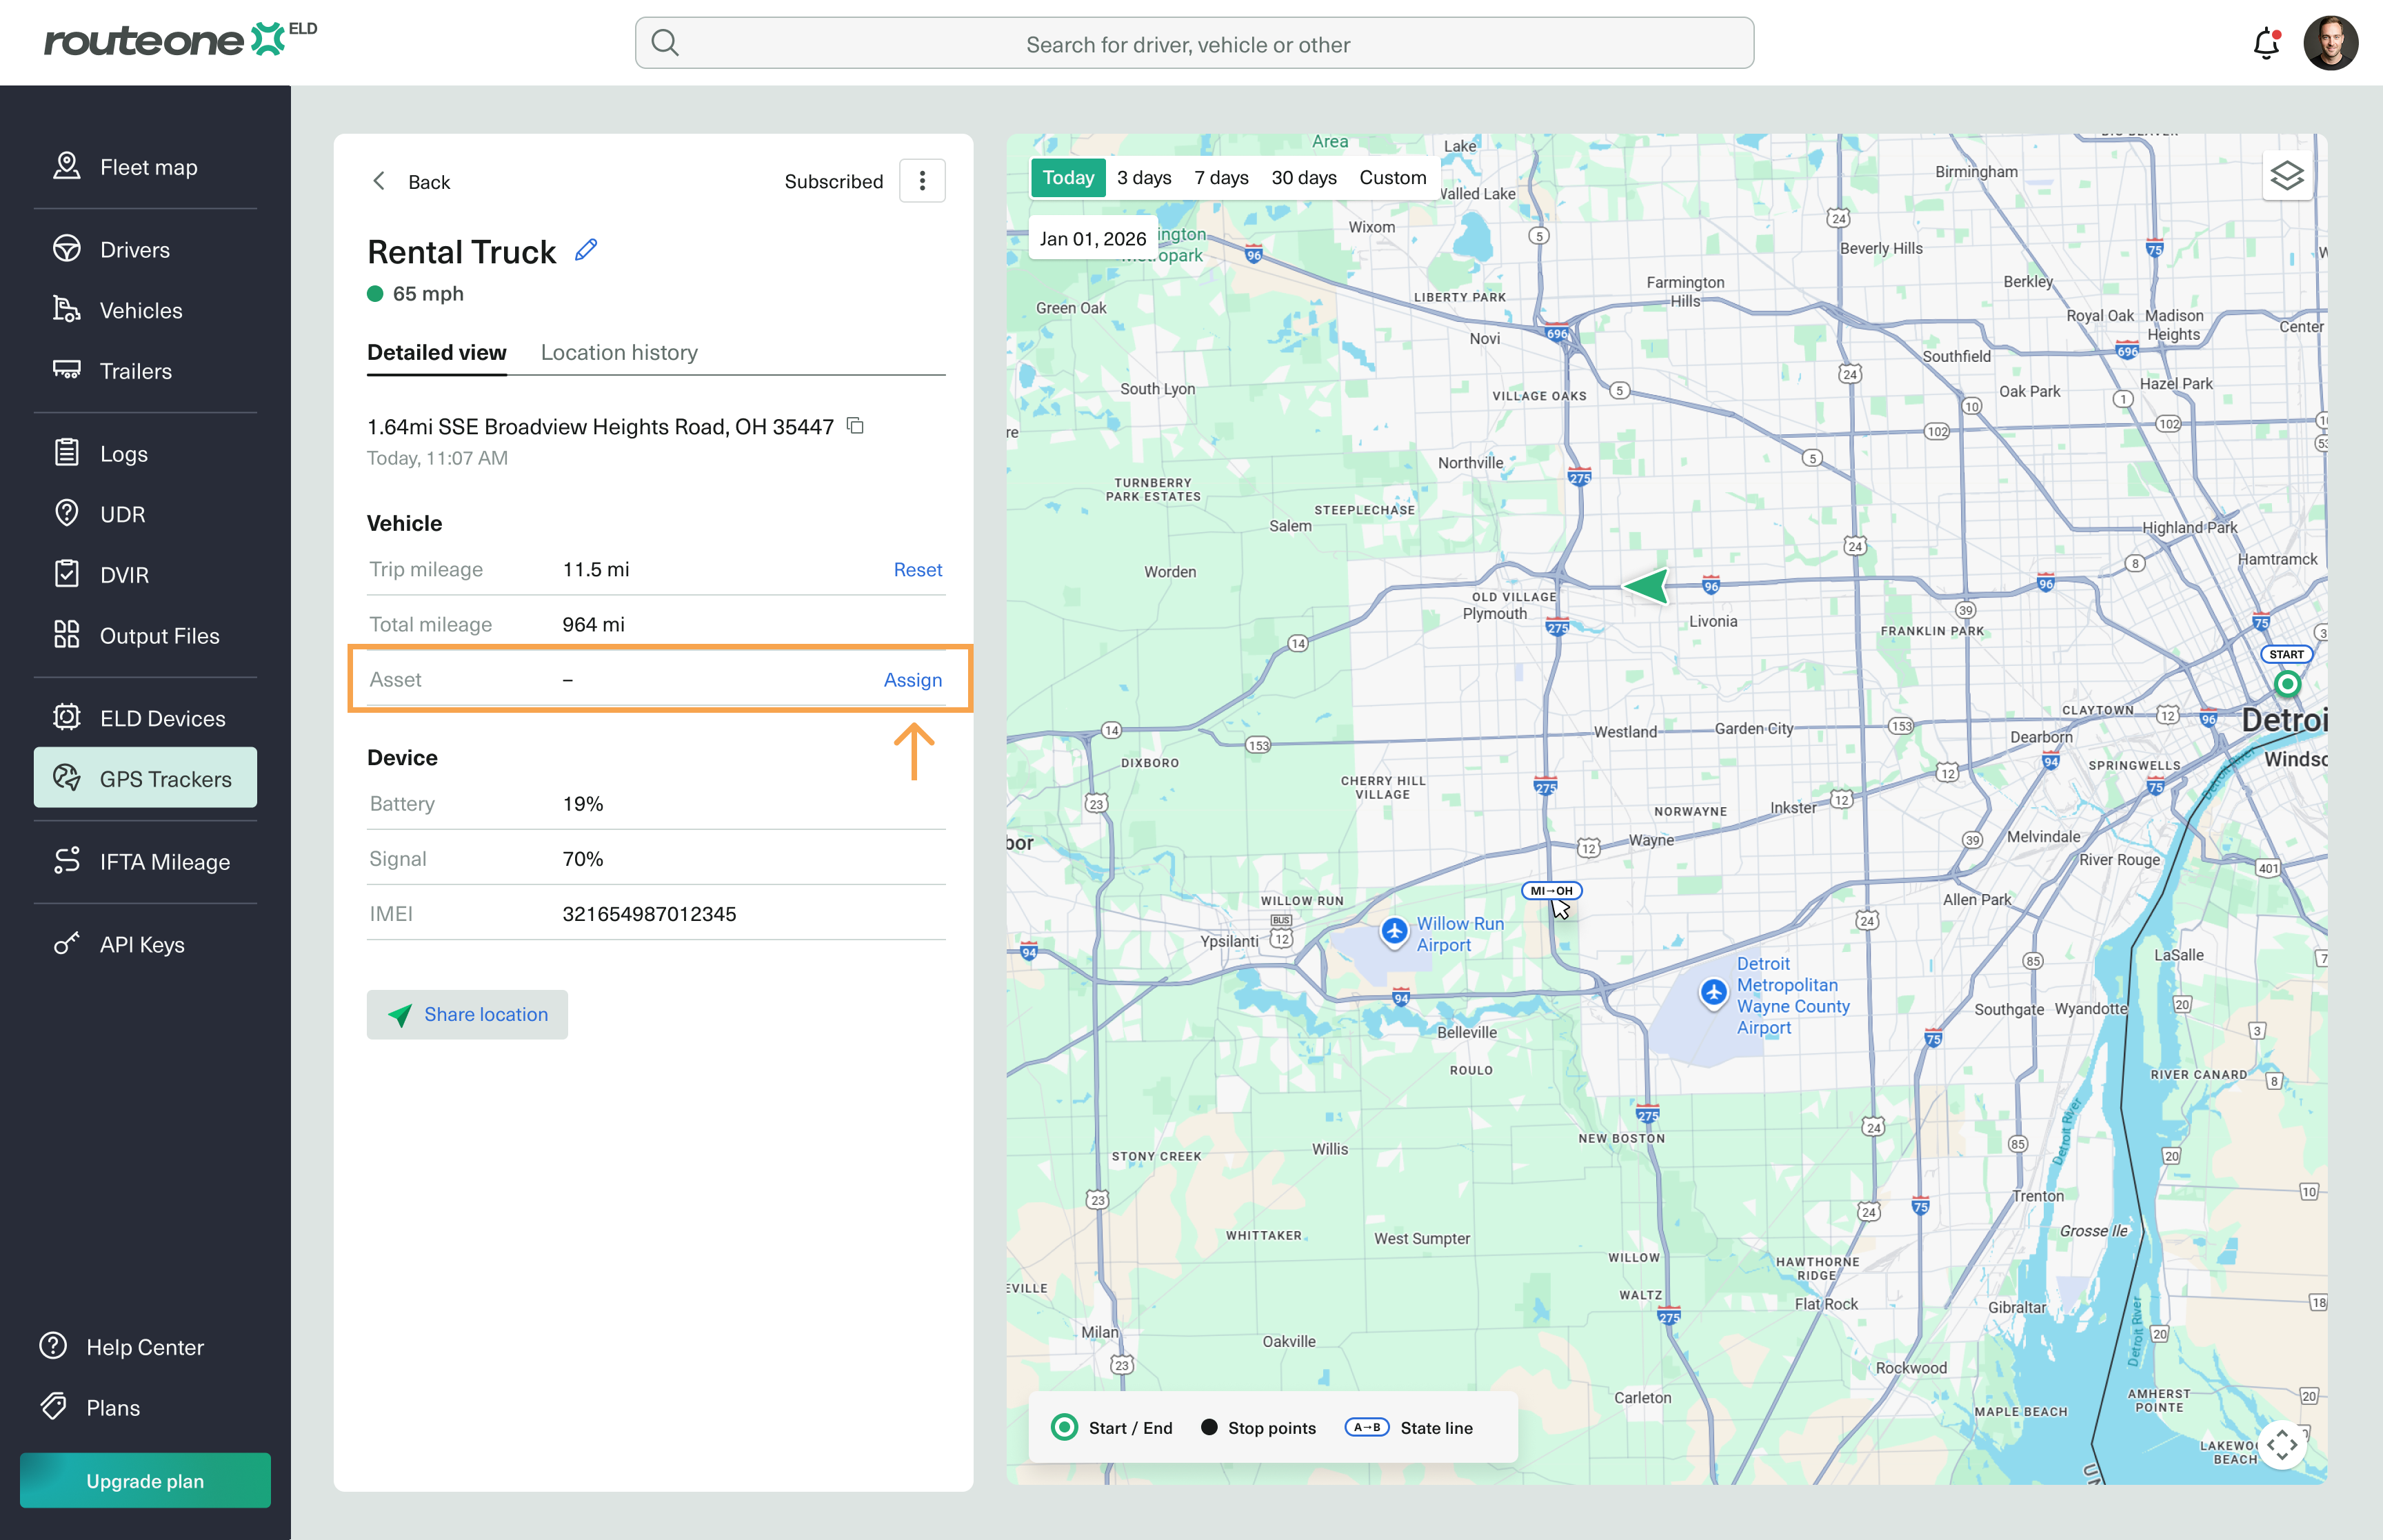
In the Vehicle section, click the Assign button.
Choose to assign it to a vehicle or a trailer.
Select the corresponding asset from the list.
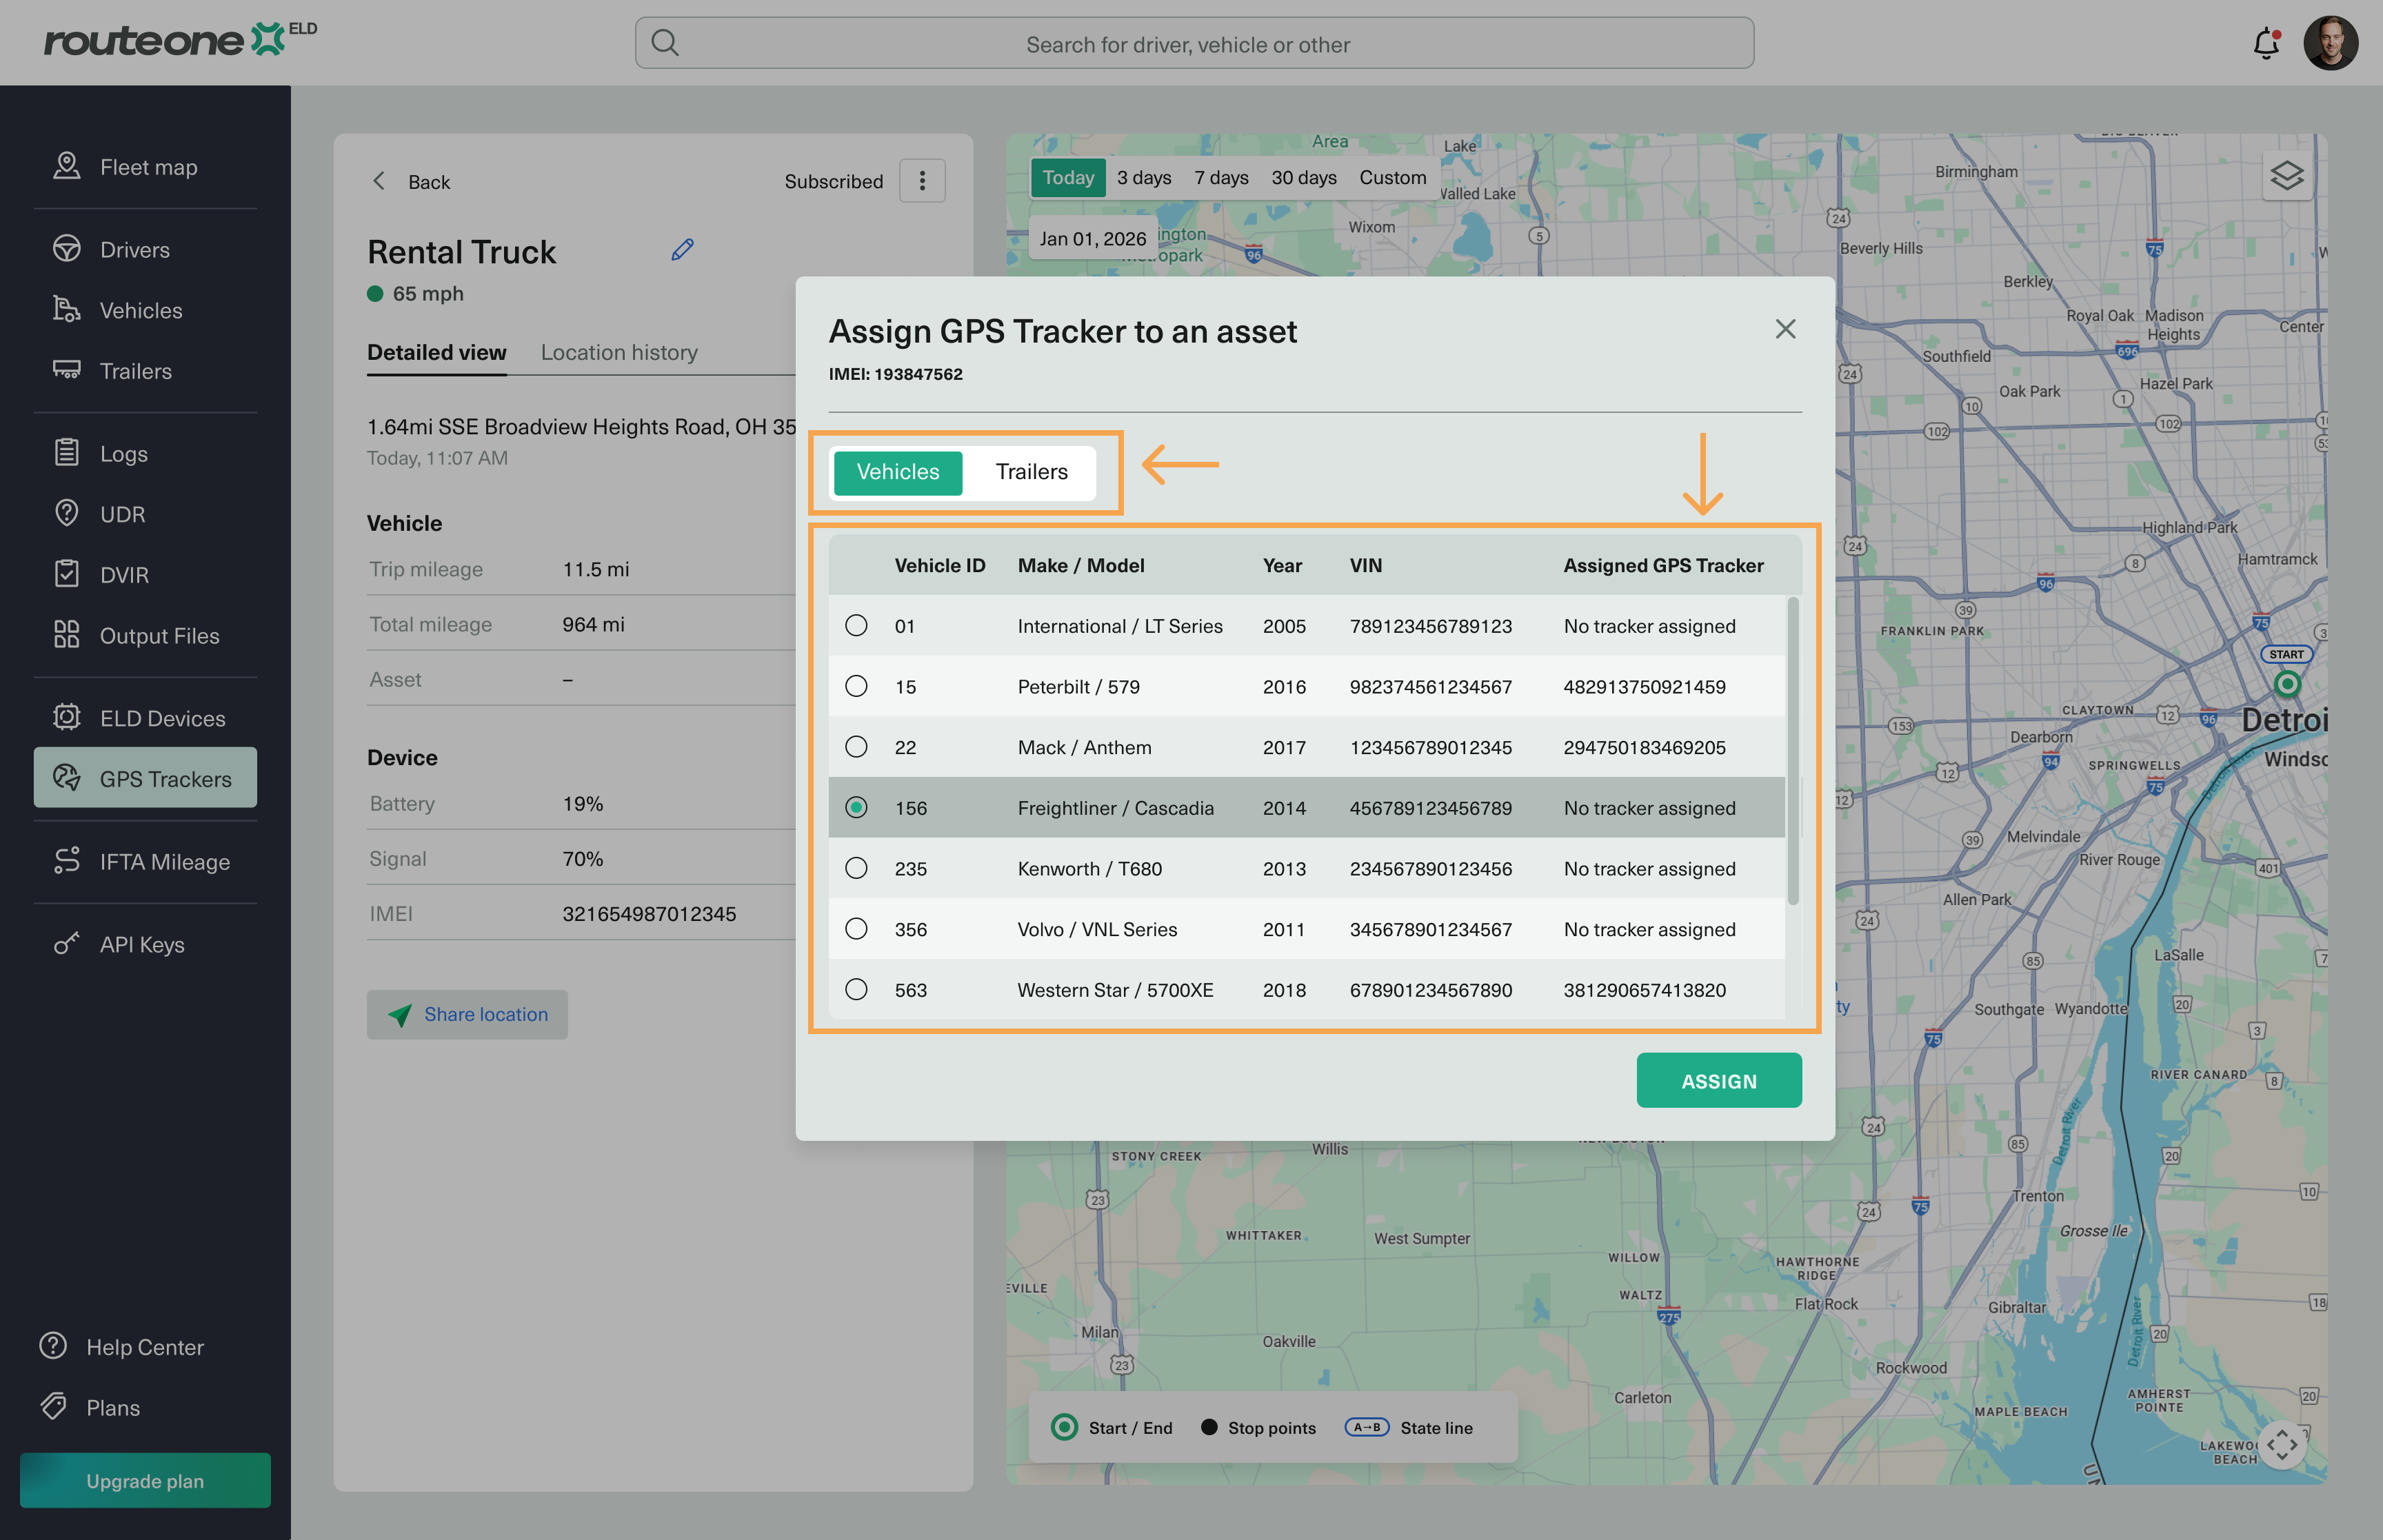
Click Assign.